P Platform Setup
Platform Setup confirms you have the accounts and access needed for the rest of the setup. This phase assumes you already have a production GA4 property and a web GTM container in use. If you're starting from scratch, see the notes in each section below.
What this phase does
Platform Setup verifies that your existing Google accounts, properties, and containers are accessible. It does not change your production tracking — it only confirms that what you already have is ready for the assistant to scan.
Platform overview
- P.1 Google Cloud (GCP) Setup: prepare a GCP project for the server-side infrastructure. Project selection in the assistant is deferred until Phase B.
- P.2 GA4: confirm you have admin access to the GA4 account with your existing production property.
- P.3 GTM: confirm you have access to the GTM account with your existing web container.
- P.4 Settings: desktop pairing, Google access, and API verification (available when the assistant launches).
P.1 Google Cloud (GCP) Setup
The server-side infrastructure runs on Google Cloud. You'll need a GCP project with billing enabled and the required APIs turned on. You don't need to select the project in the assistant until Phase B — but having it ready saves time.
How to set up the GCP project for GetServerSide
Project structure, billing, free tier, permissions, required APIs, and a step-by-step walkthrough.
P.2 GA4
The assistant needs access to your existing production GA4 property so it can scan your current setup. Confirm you have admin access to the GA4 account and that the property has at least one web data stream with an active measurement ID.
A temporary test GA4 property will be created later during Phase B (Validation). You do not need to create it now.
Starting from scratch? If you don't have a GA4 property yet, create one in Google Analytics and add a web data stream for your site before continuing.
P.3 GTM
The assistant scans your existing web GTM container to classify your tags and events. Confirm you have edit access to the GTM account and that the web container is published and active on your site.
A server GTM container will be created during Phase B (Validation) if you don't already have one. You do not need to create it now.
Starting from scratch? If you don't have a GTM account or web container, create one in Google Tag Manager and install the snippet on your site before continuing.
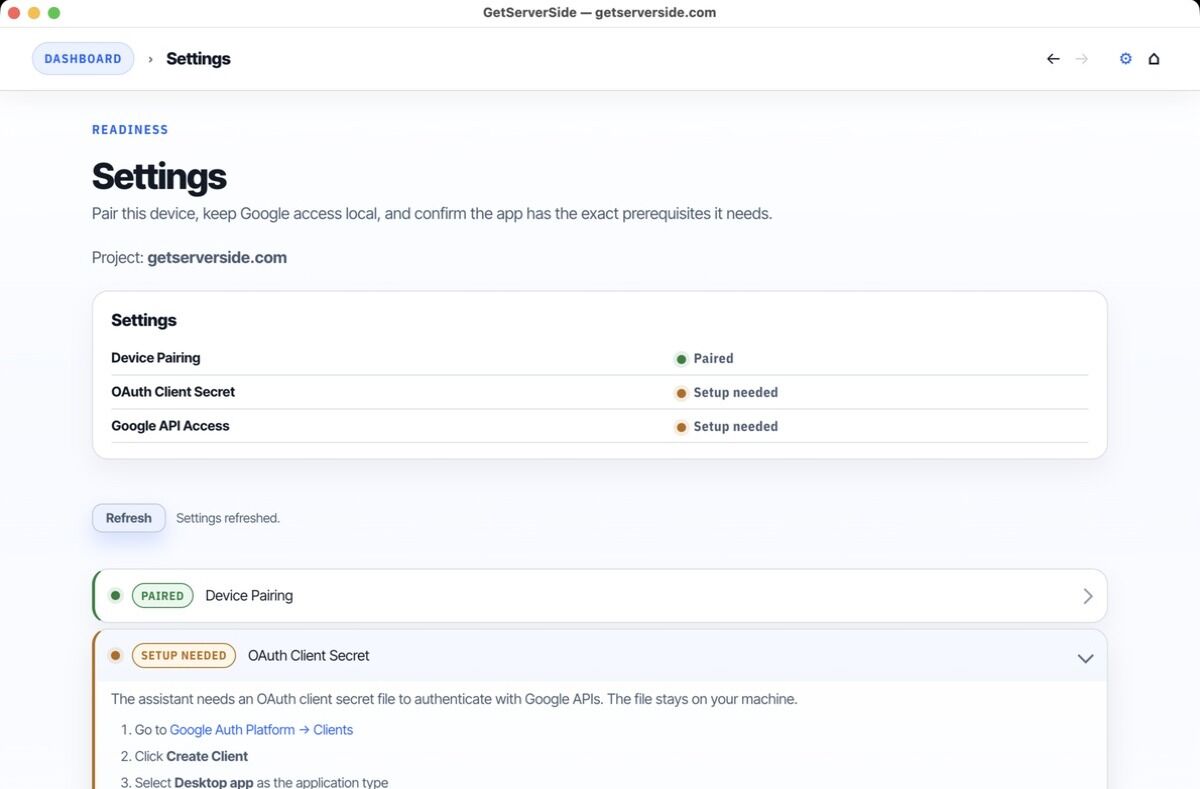
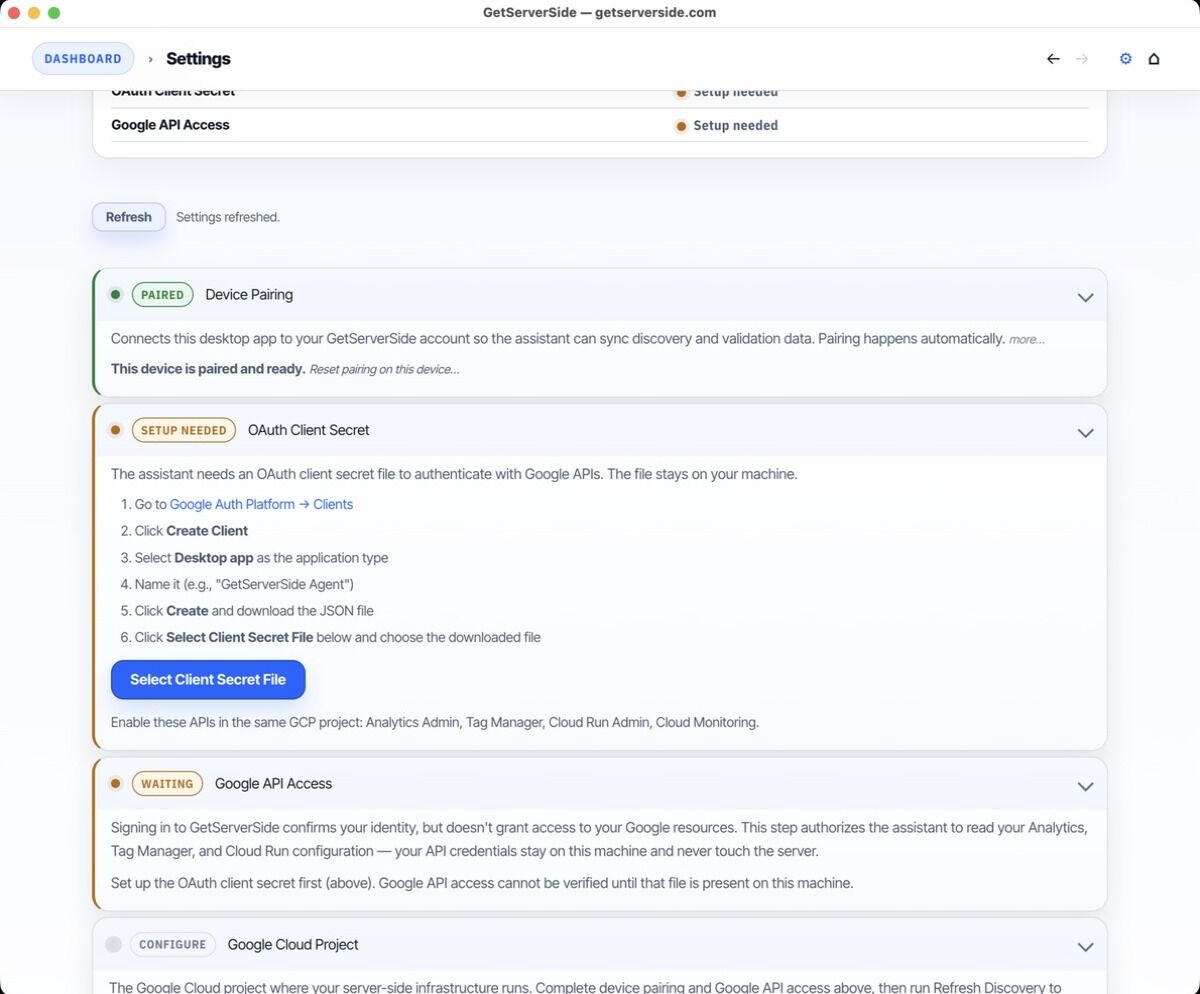
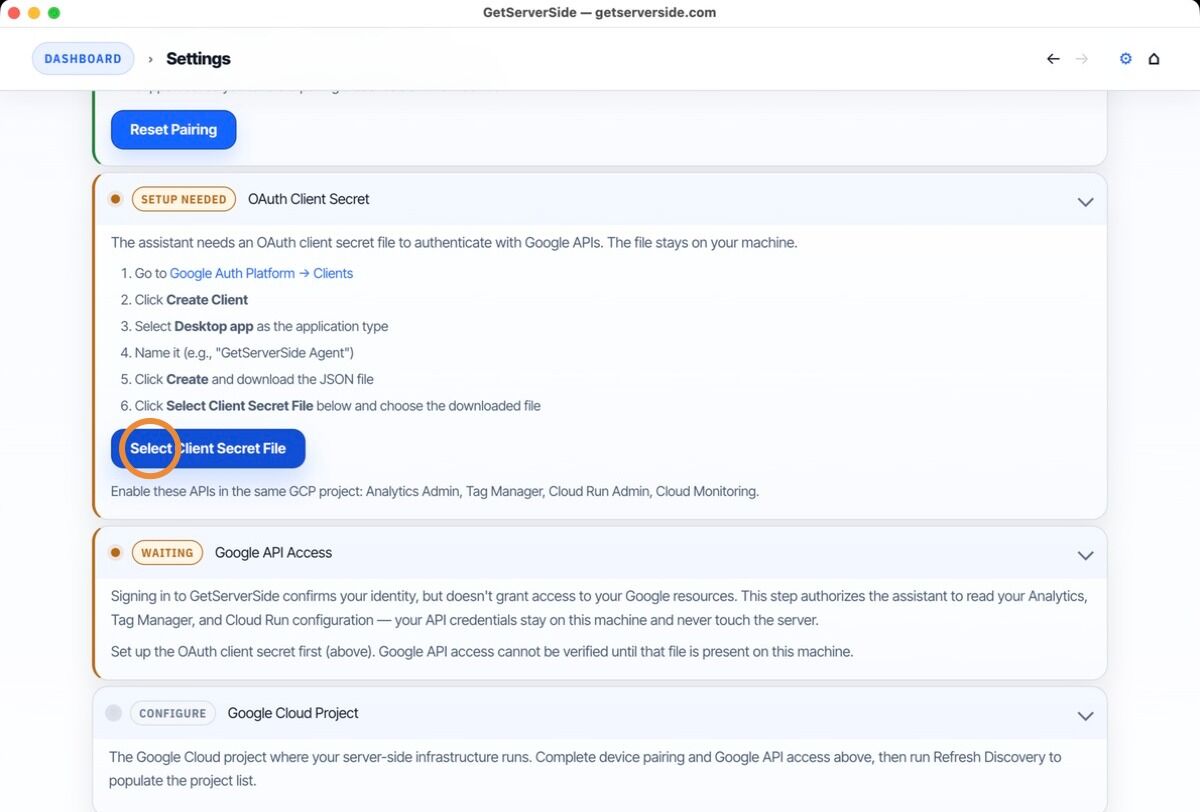
P.4 Settings
The following describes the assistant's Settings workflow. These steps will be available when the assistant launches.
-
1
Pair this device with the local desktop app
Open the app Settings page and complete pairing so the website can call the local agent for discovery and validation.
-
2
Add the Google OAuth client secret
Provide the desktop app with the OAuth client secret so it can complete Google sign-in for the APIs used during setup.
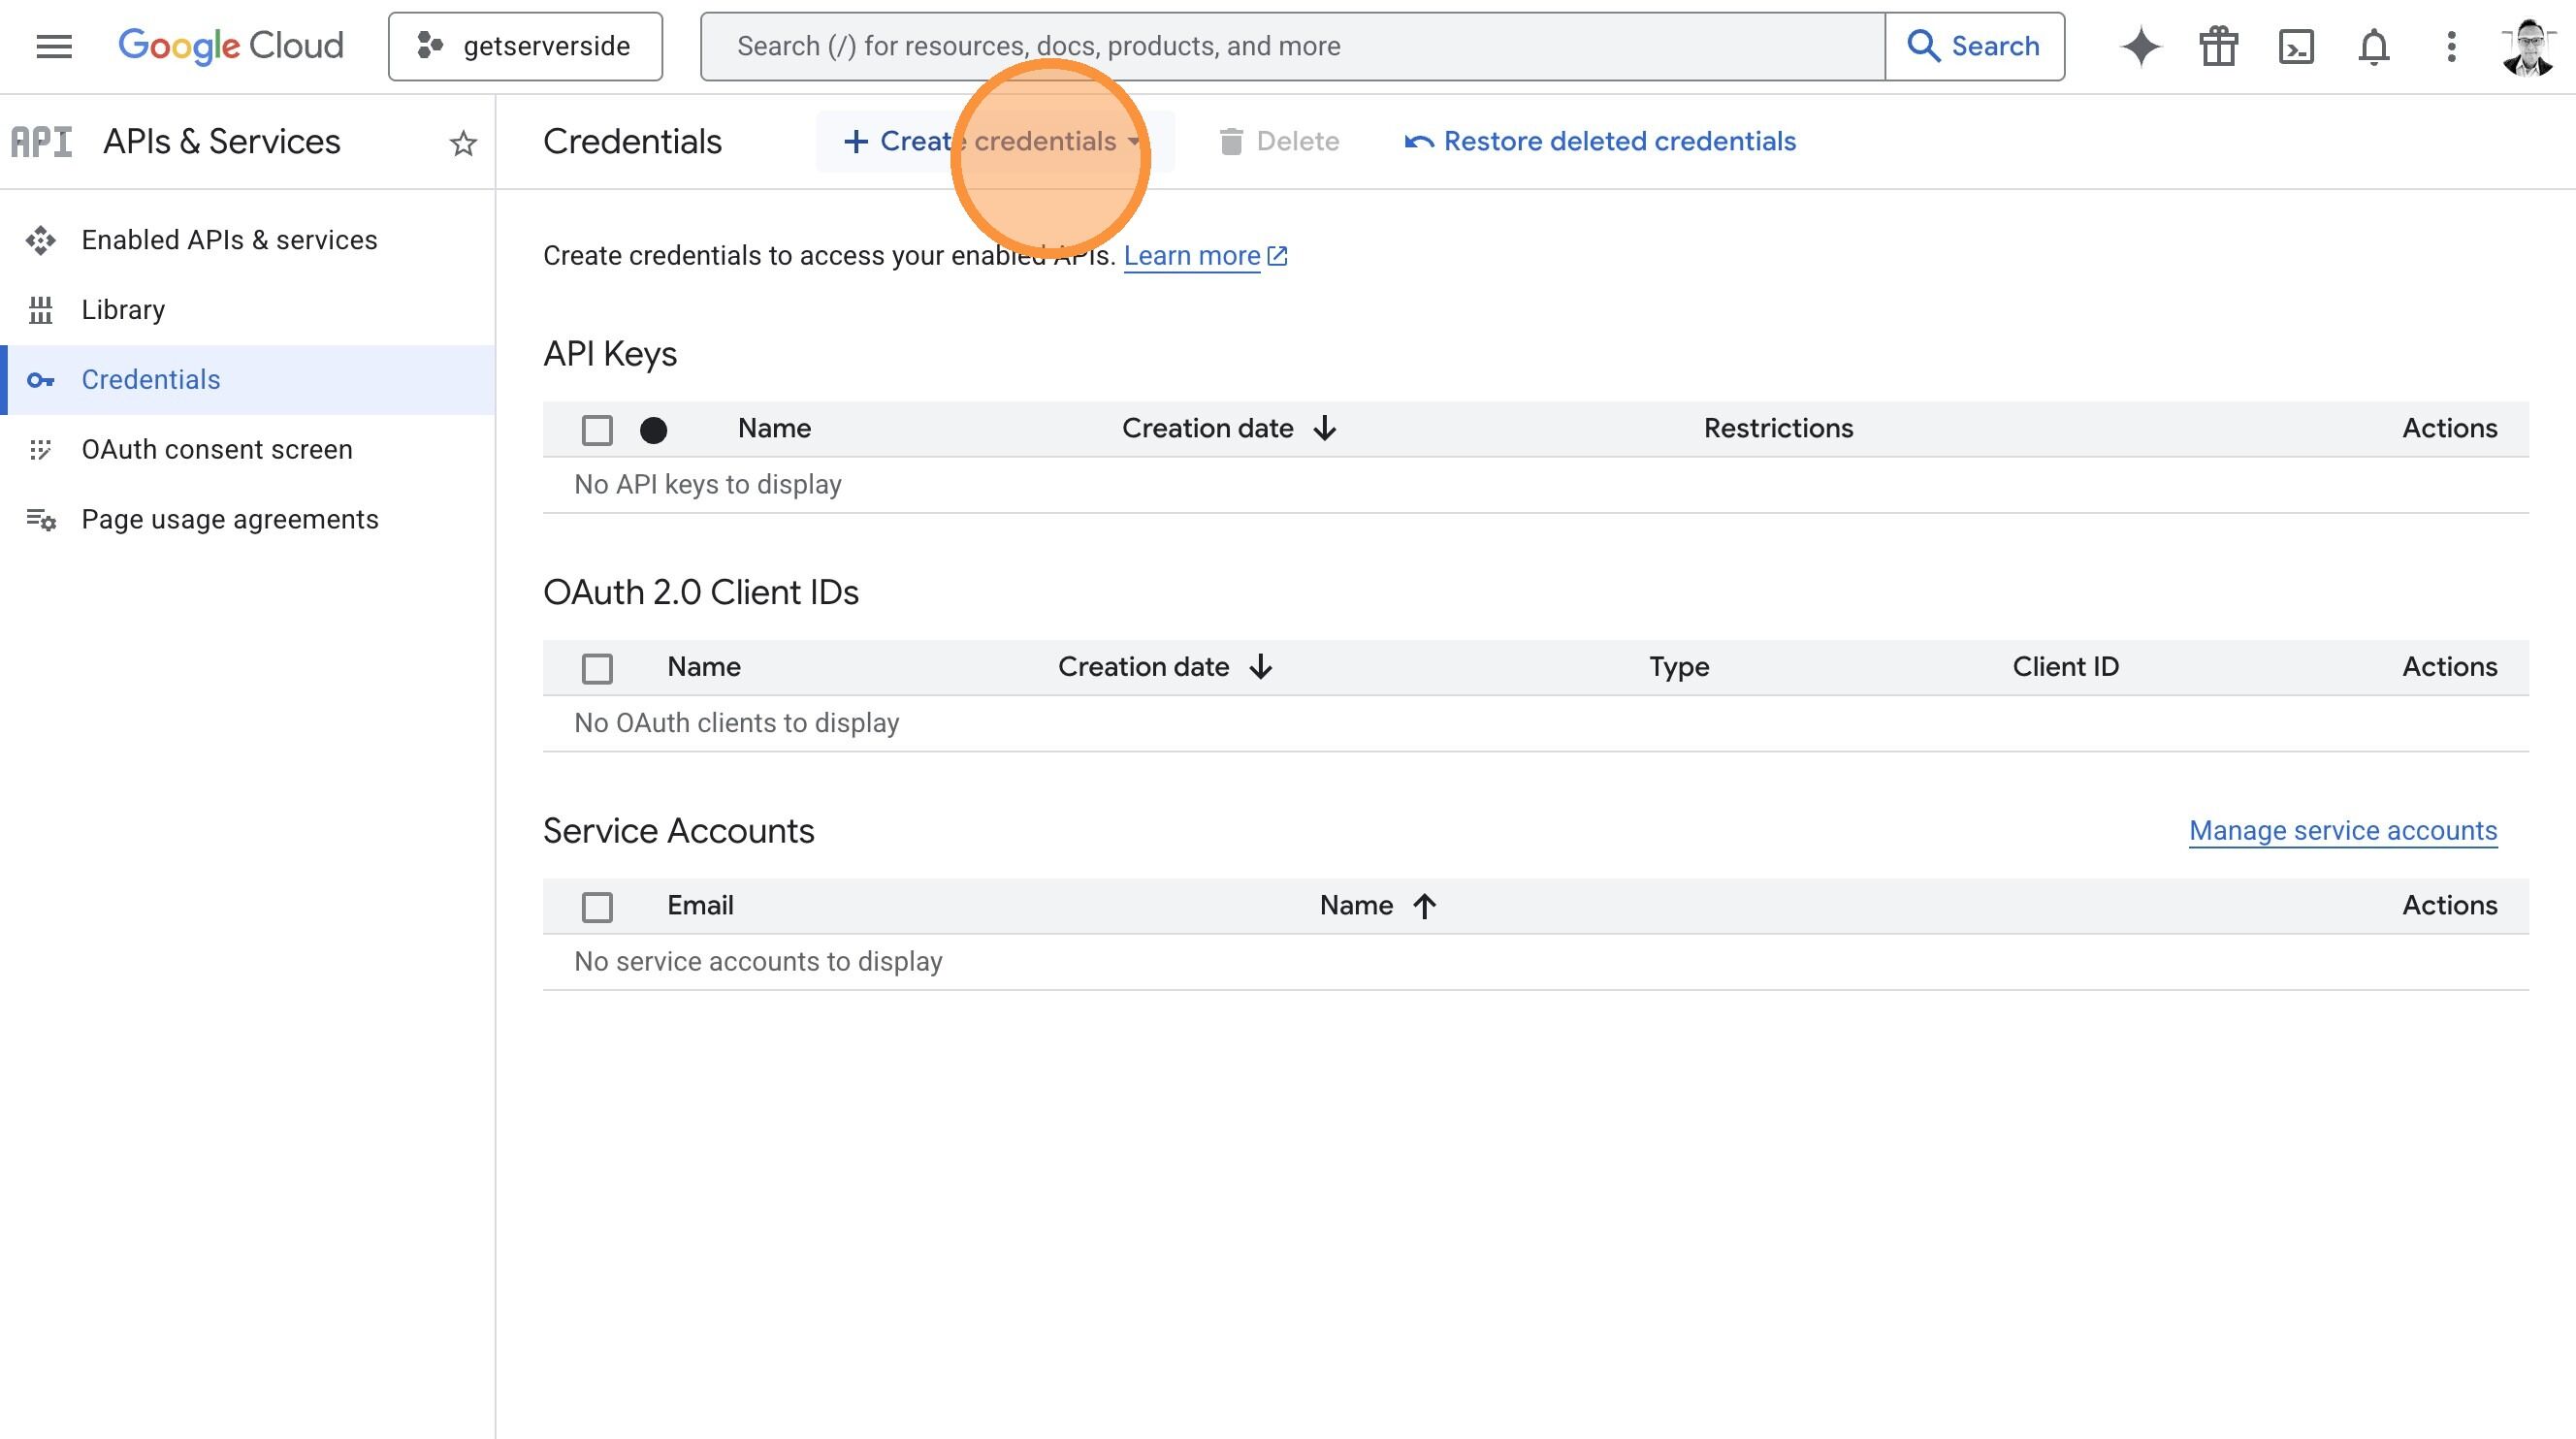
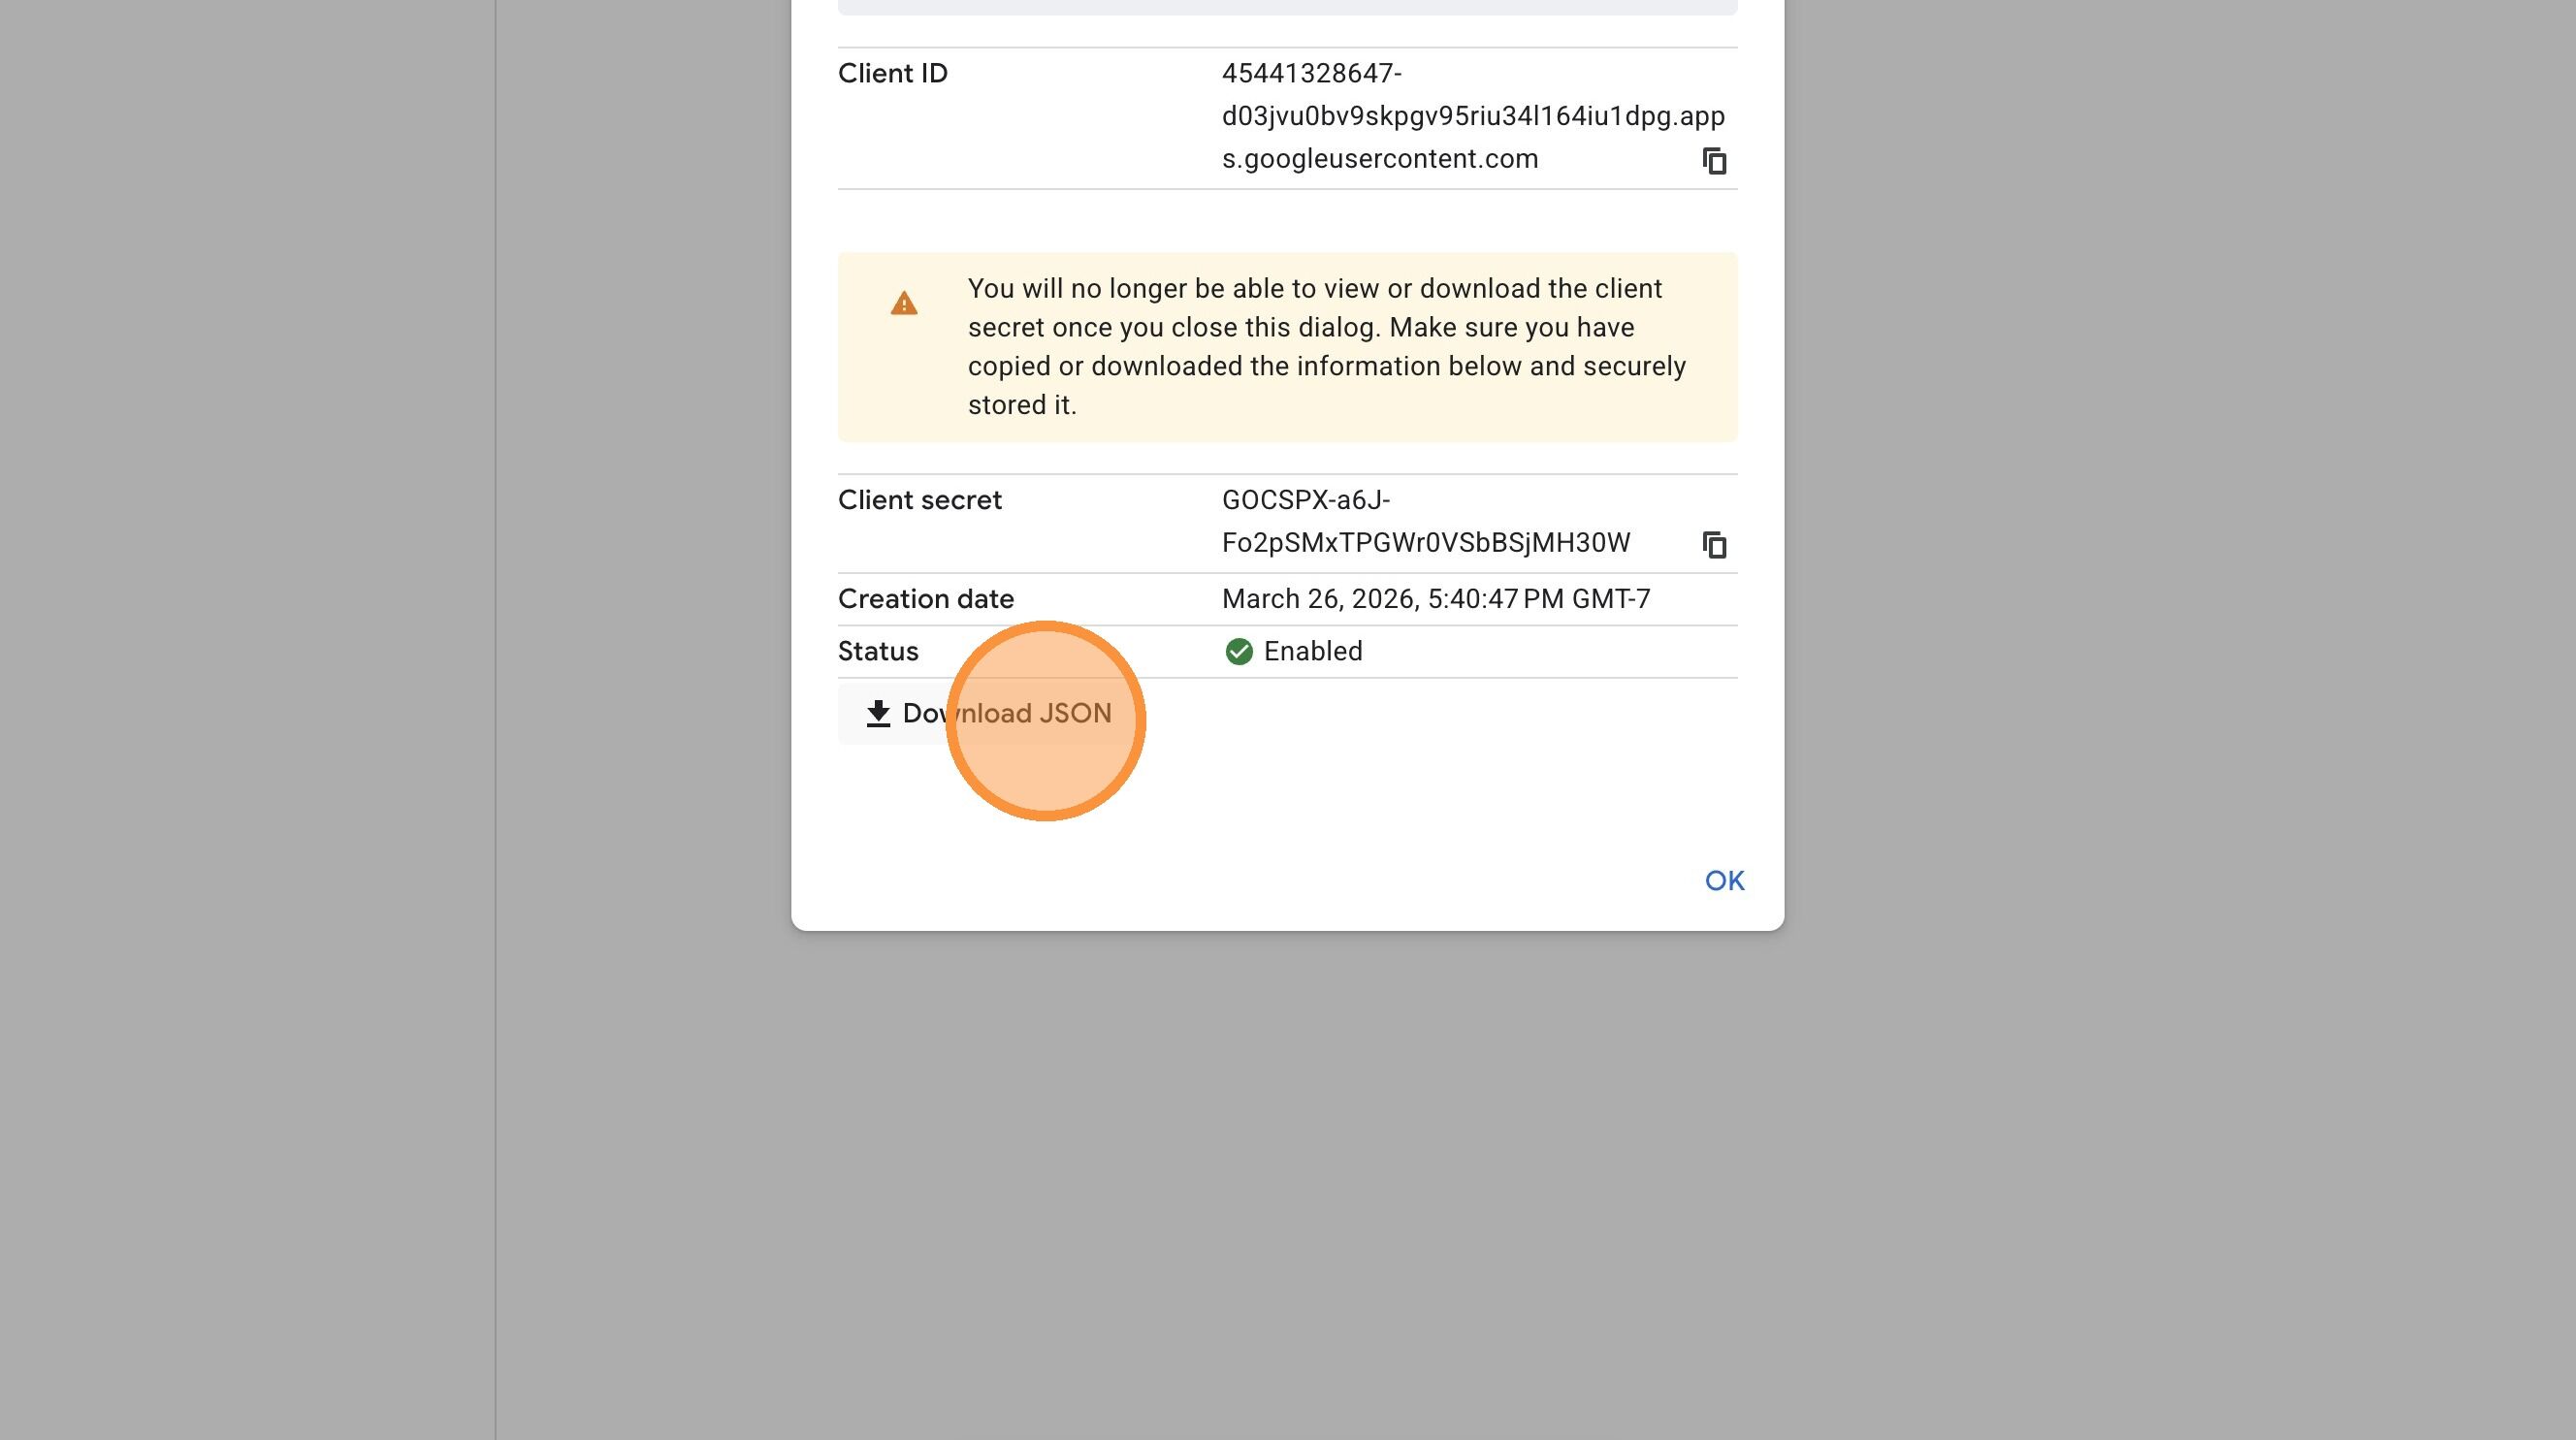
To download the client secret from GCP:
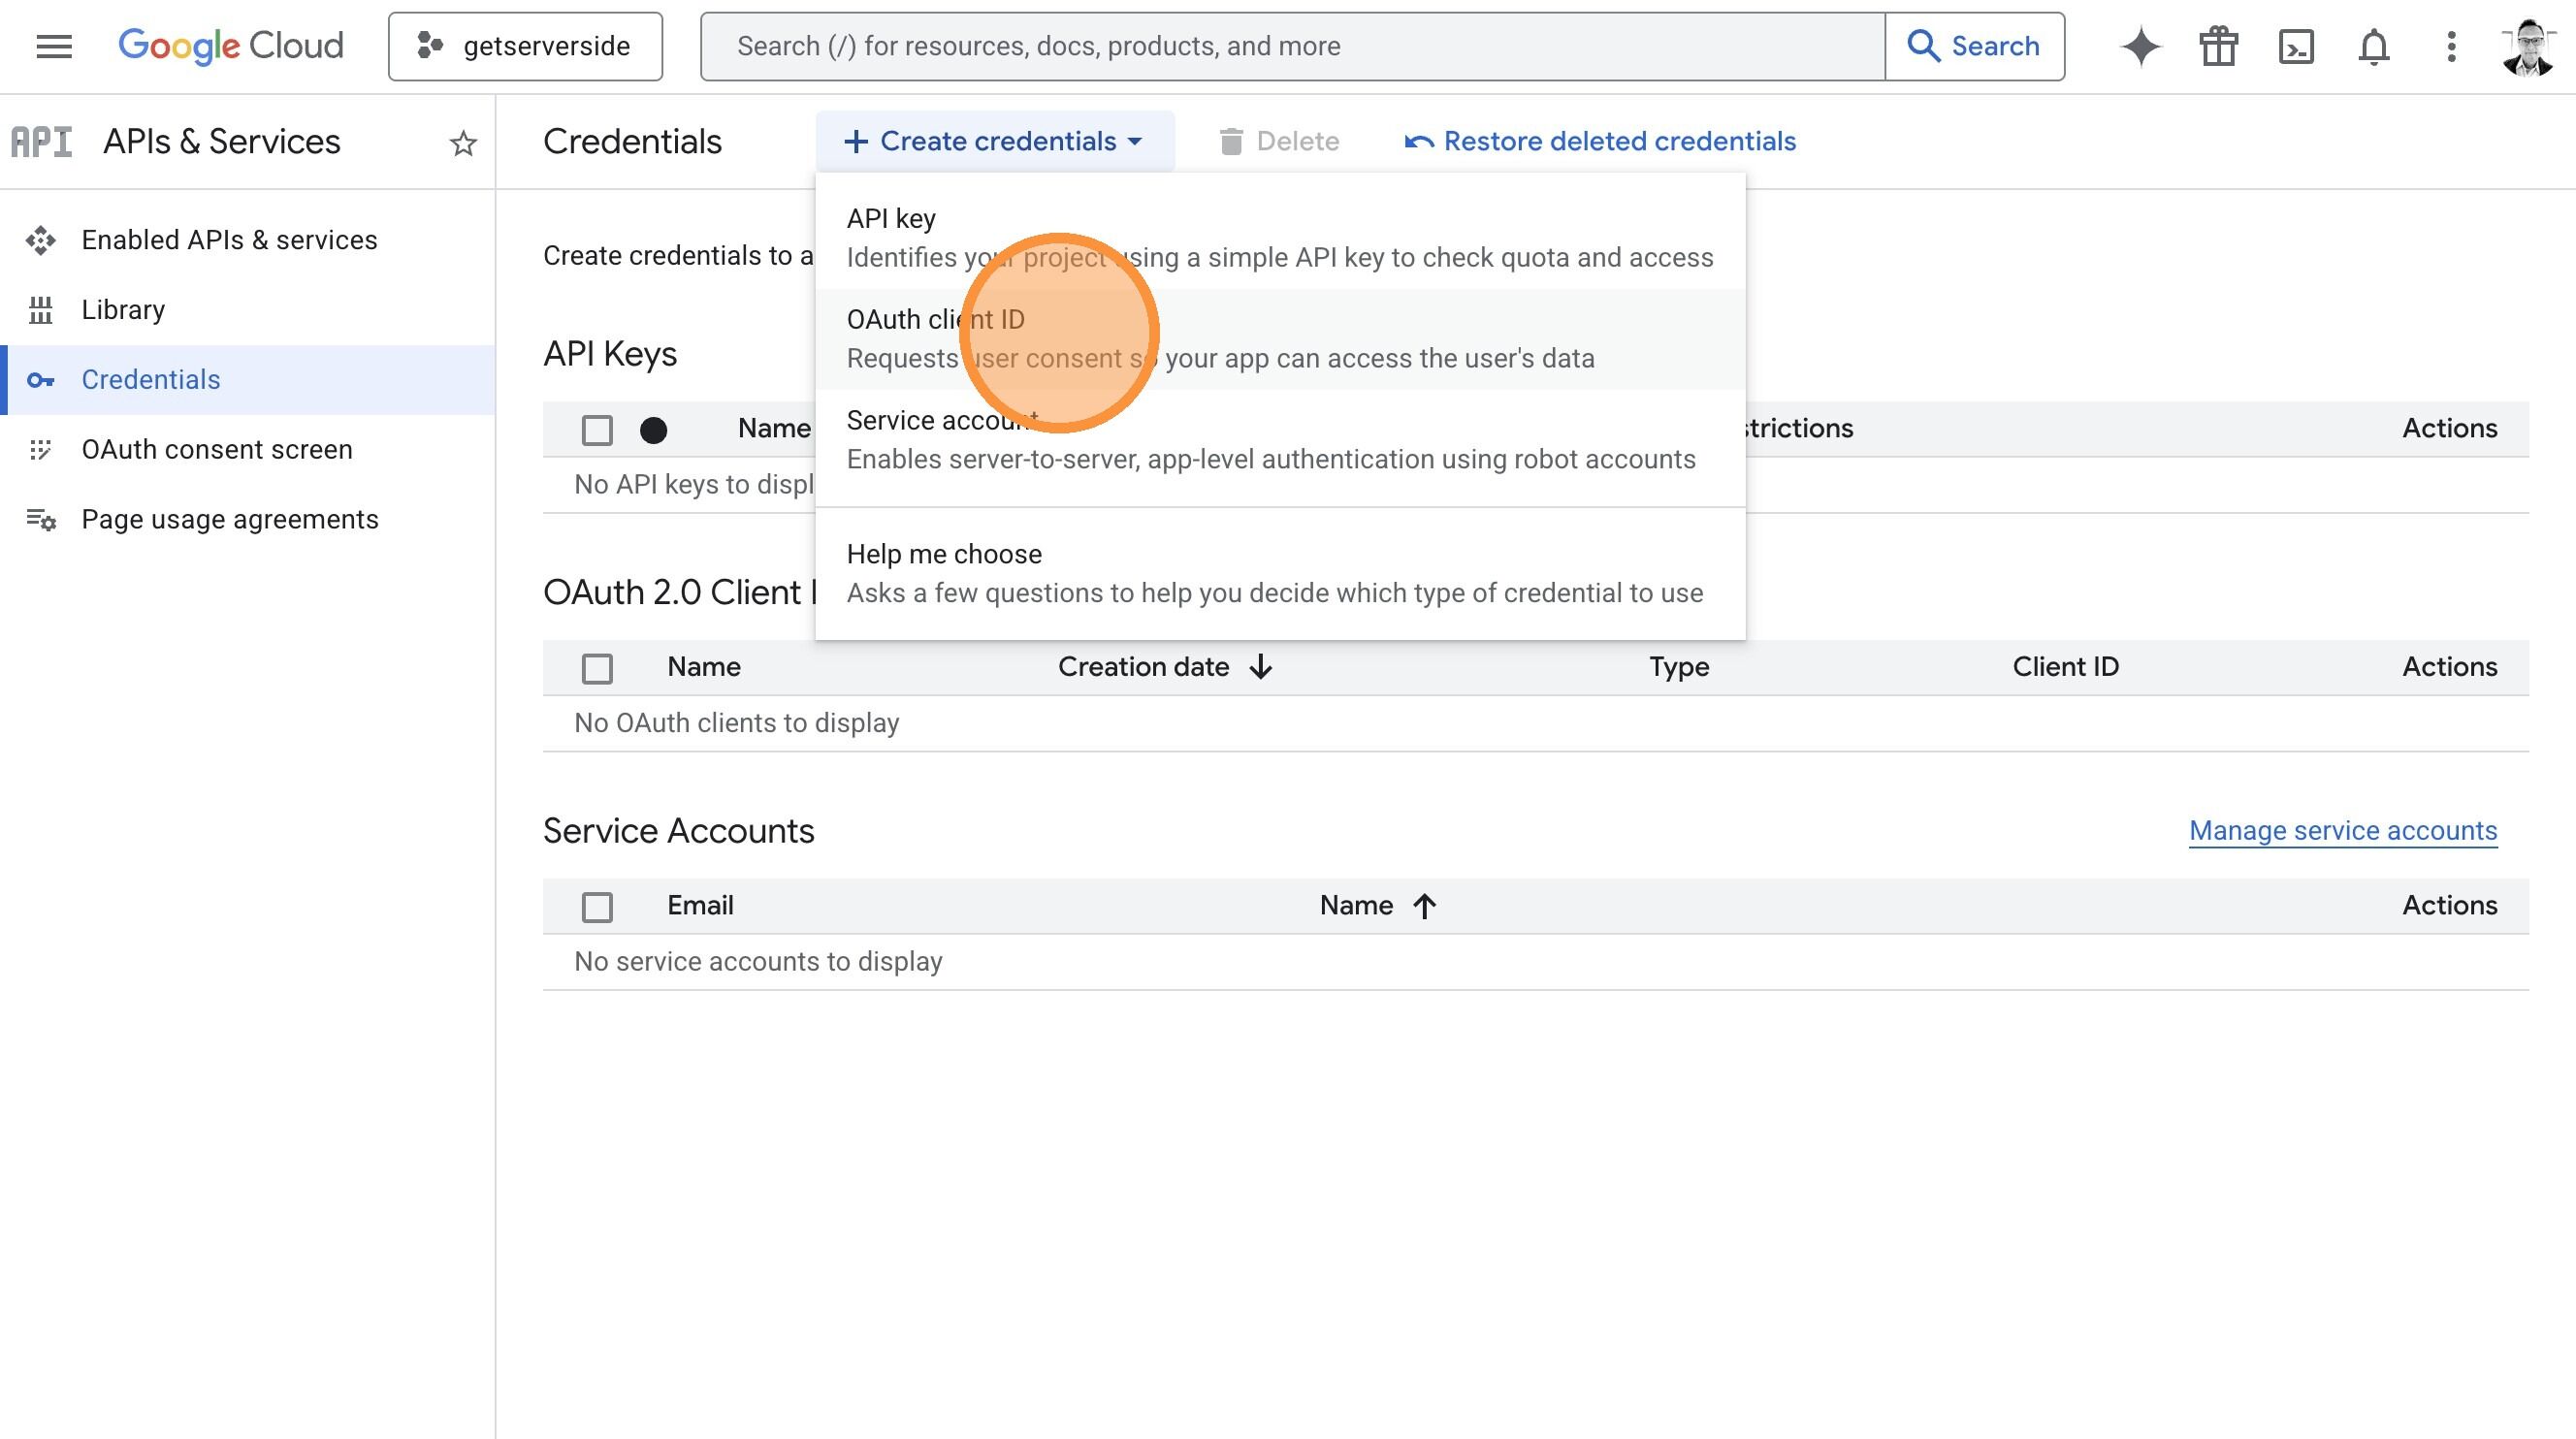
- Open the GCP Credentials page for your project.
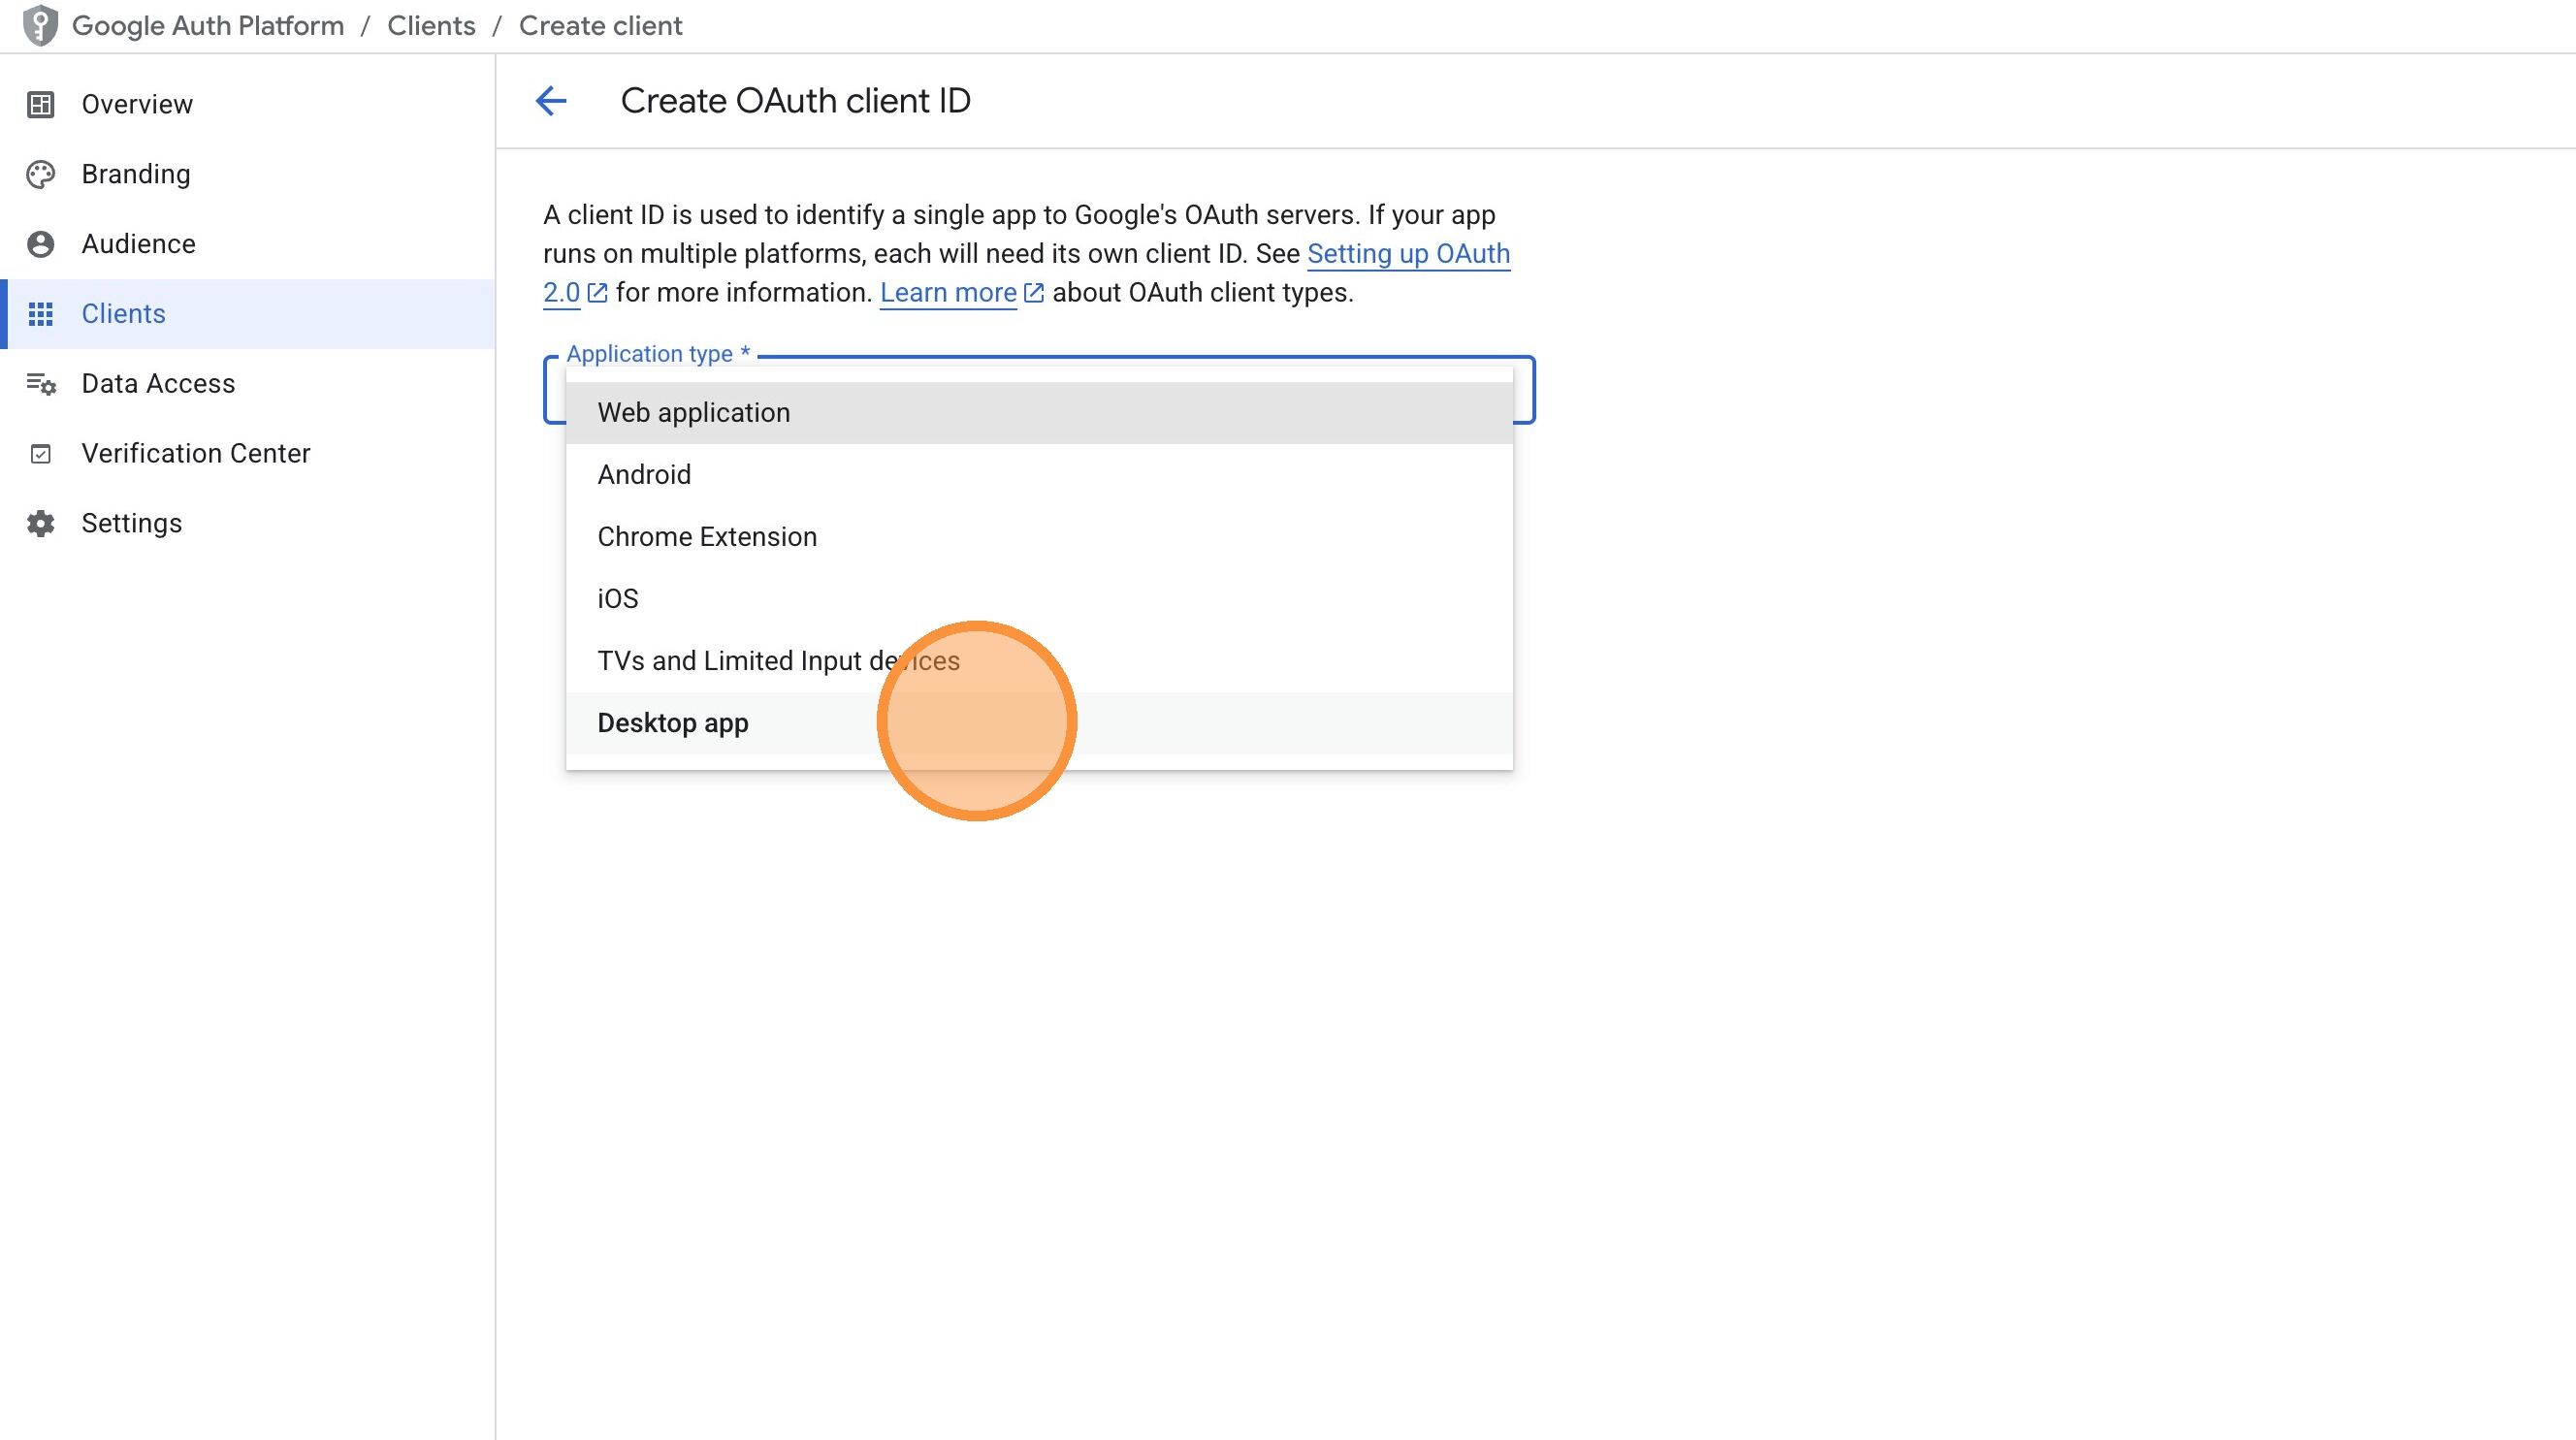
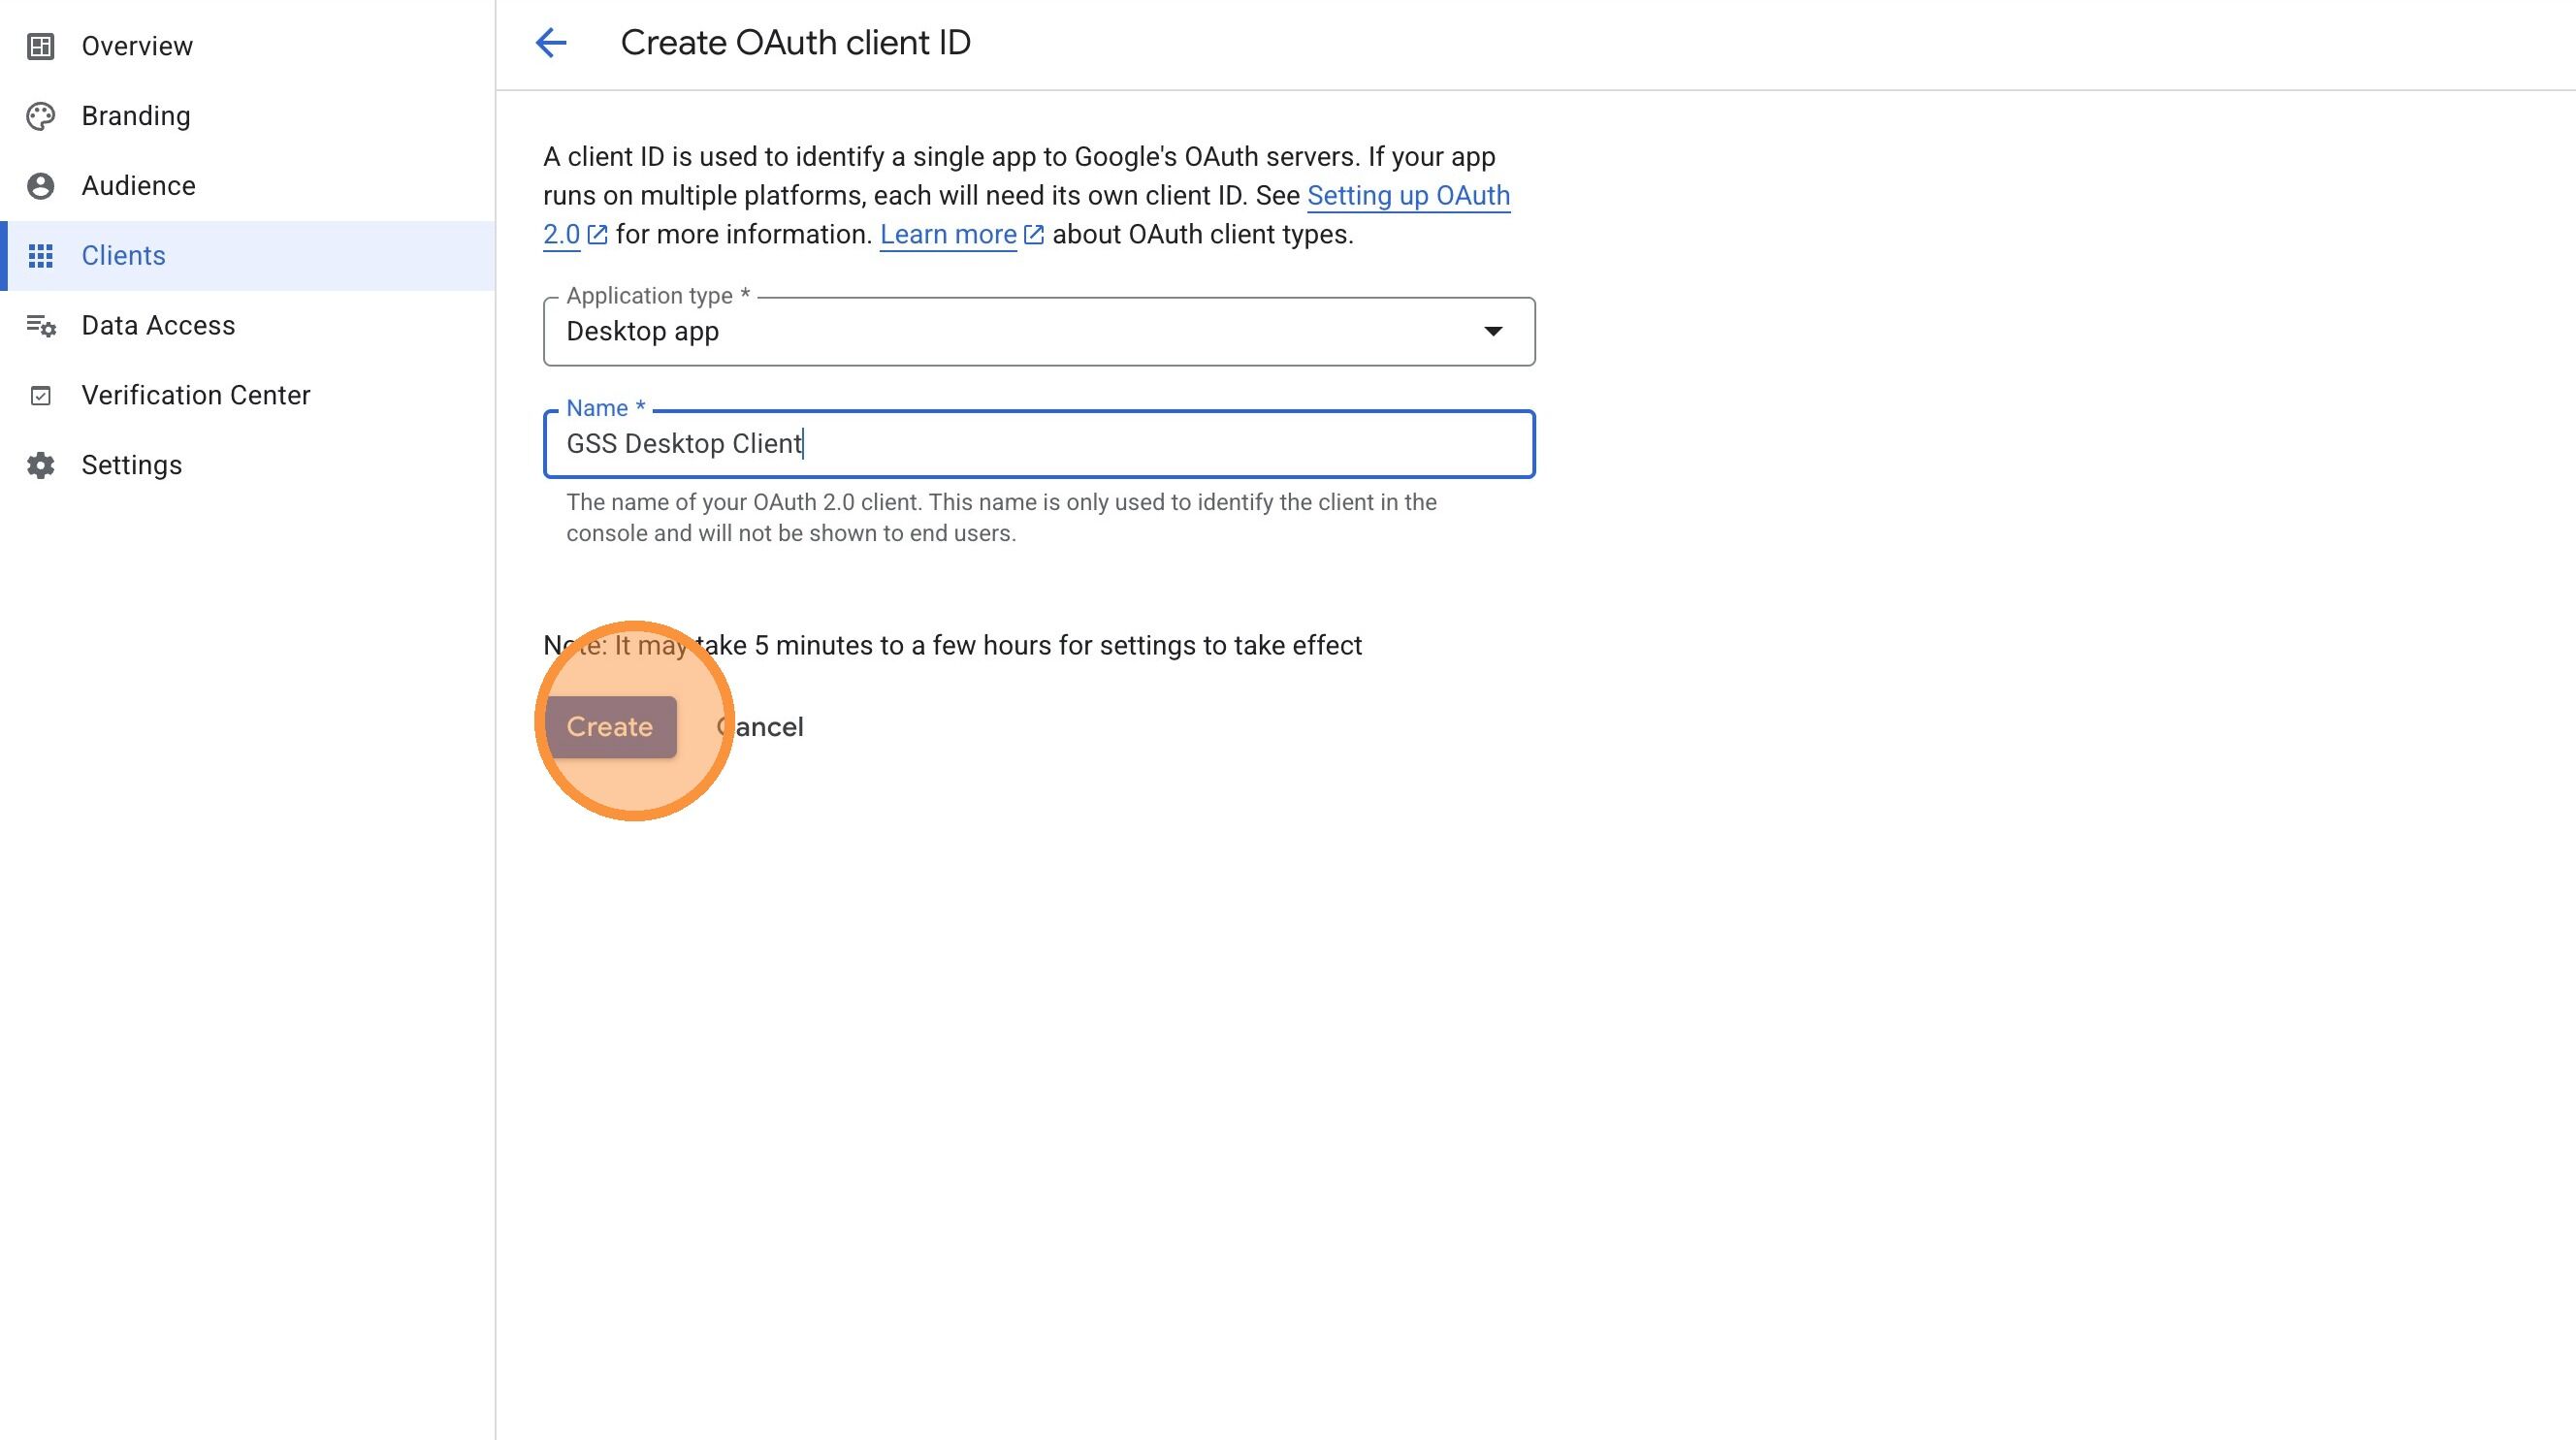
- Under OAuth 2.0 Client IDs, find the client you created for this implementation (or create one: Application type = Desktop app).
- Click the download icon (or the client name, then Download JSON) to get the
client_secret.jsonfile. - Save this file where the assistant can find it. The app will prompt you for the file location during setup.
Walkthrough: Create and download the OAuth Desktop client
-
3
Authenticate the Google account you will use for setup
Sign in with the Google account that has access to the Analytics, GTM, Cloud Run, and GCP resources for this implementation.
-
4
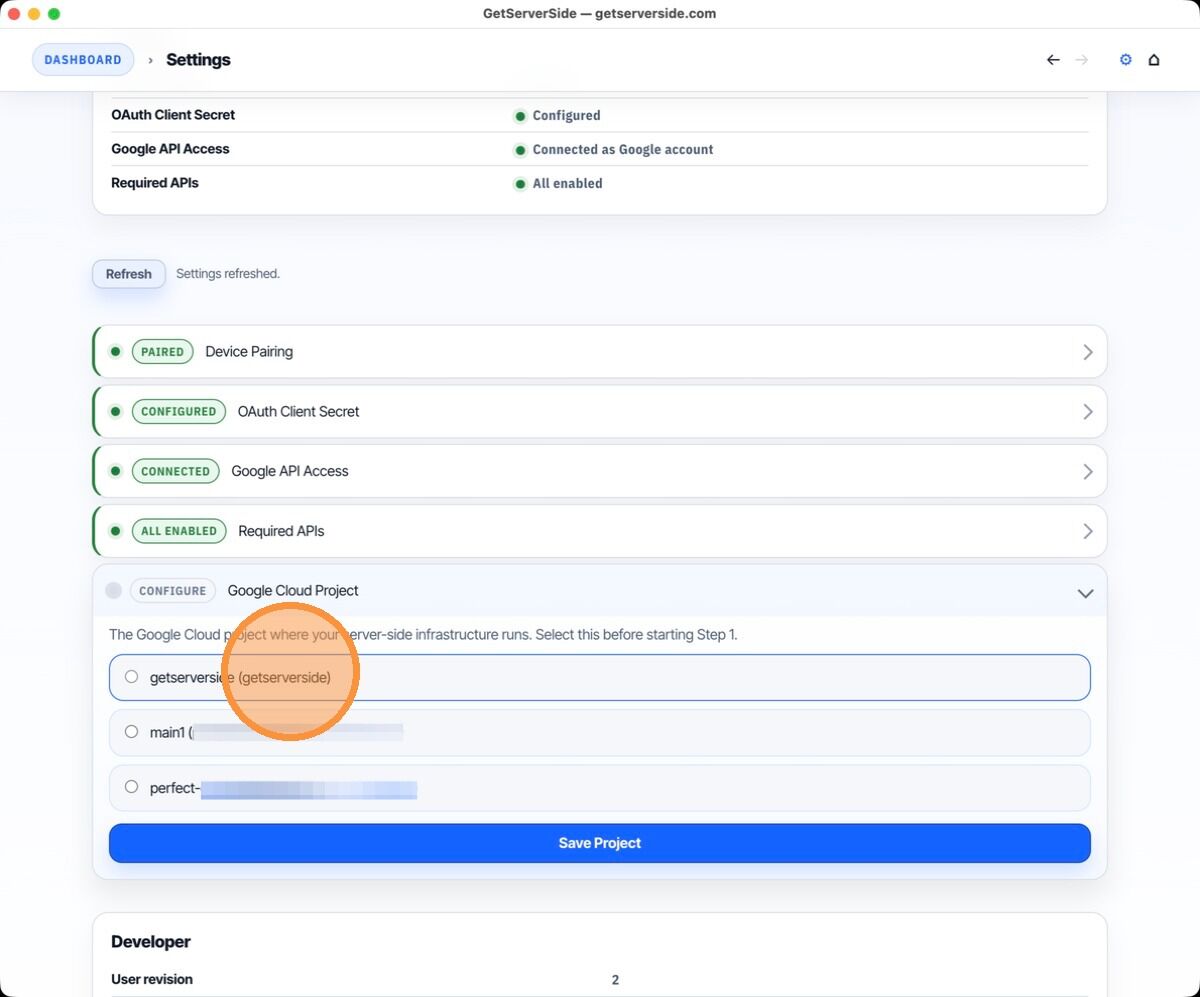
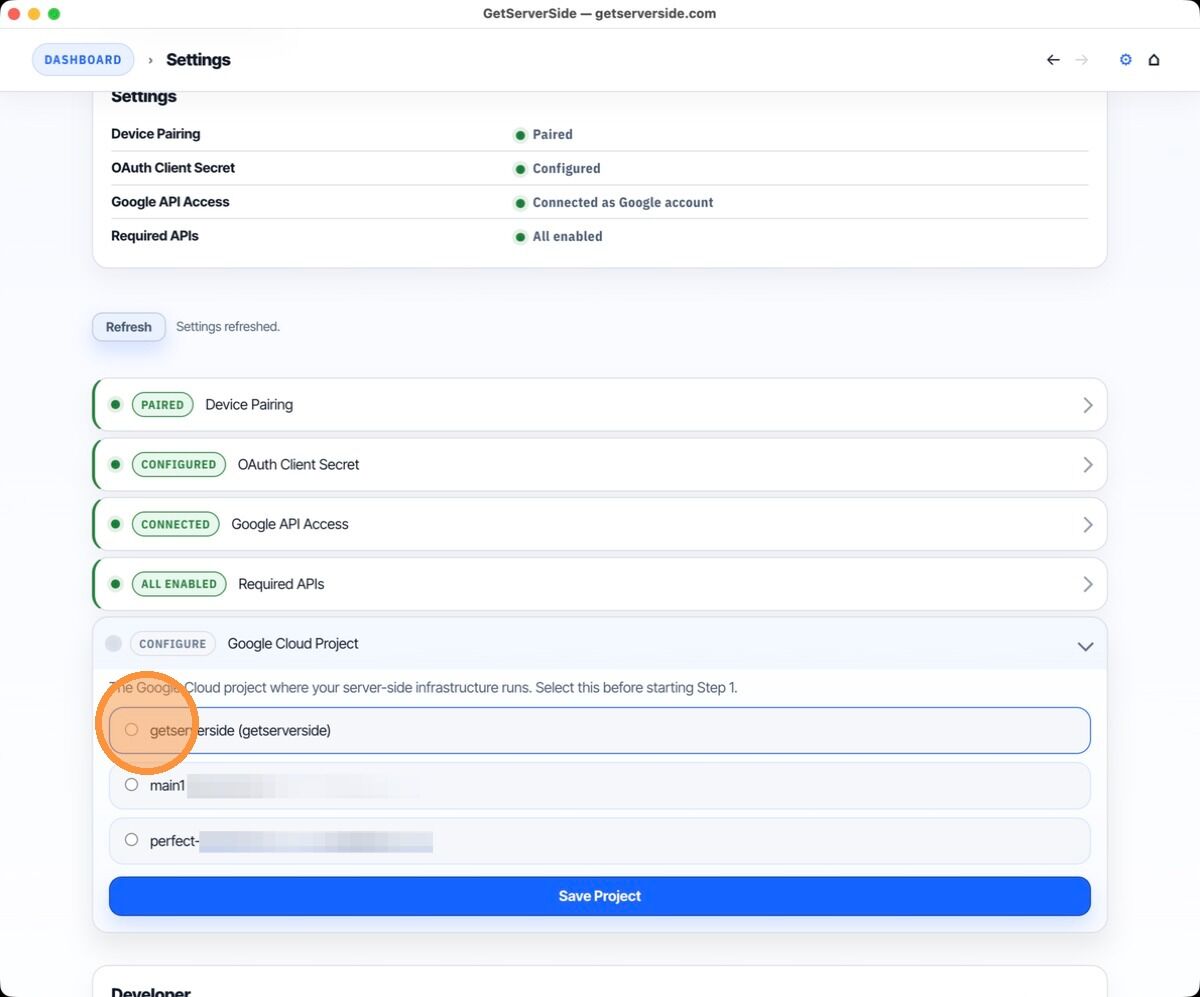
GCP project selection (deferred)
GCP project selection happens later in the setup, after scanning and readiness. You don't need to choose a project during initial setup.
Walkthrough: Assistant Settings
This walkthrough shows the Settings flow in the Desktop App. The Desktop App has not been released yet. It will guide you through these steps when it launches.
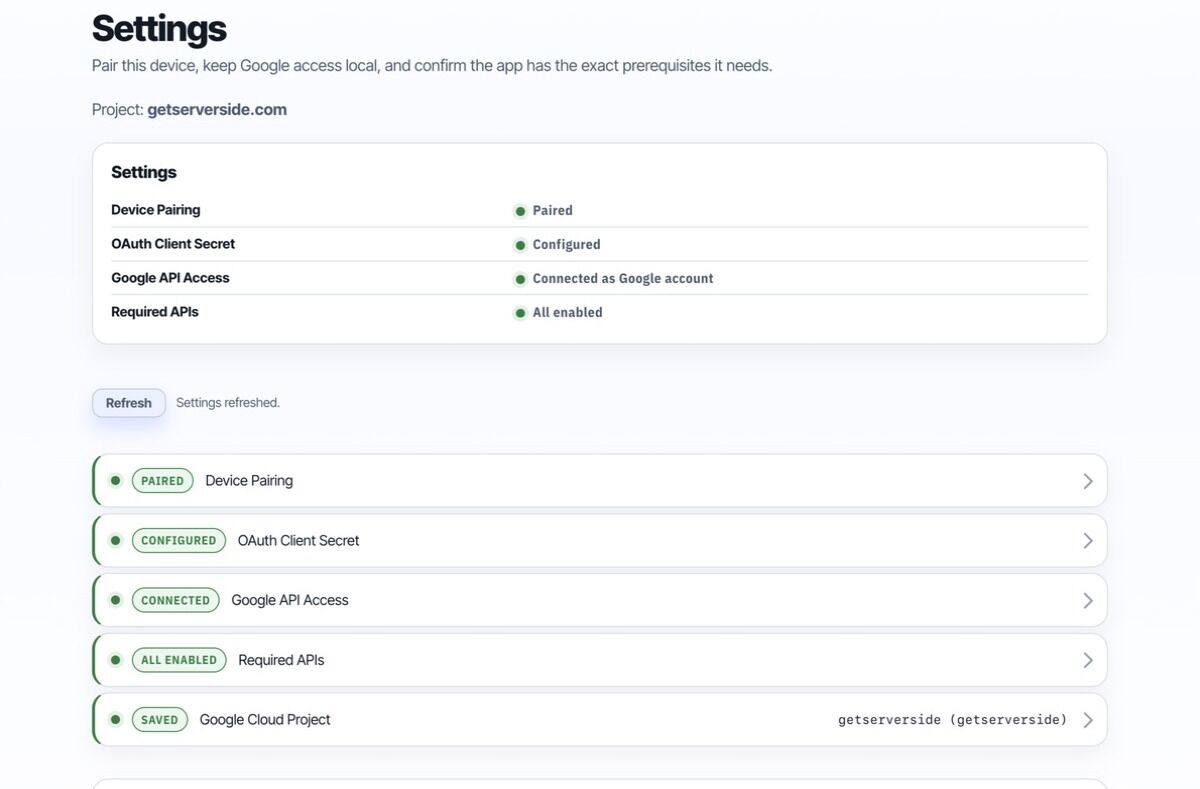
What you'll have when done
A GCP project with required APIs enabled, confirmed access to your existing GA4 property and GTM web container, and (when the Desktop App launches) a paired app with Google access. You're ready to scan.