P › P.1 How to set up the GCP project for GetServerSide
Choose and prepare the GCP project that will host the server-side infrastructure used later in the guide.
GCP stands for Google Cloud Platform. If you already know GA4 and GTM but not Google Cloud, this is the piece of the setup that usually feels least familiar. In the GetServerSide guide, Google Cloud is the platform layer behind the server-side infrastructure.
The Google Cloud project is used for the server-side deployment. During setup, the server GTM container is deployed to Cloud Run in this project.
GCP project selection in the app is deferred until after scanning and readiness — you prepare the project here, but you don’t need to select it in the app until you’re ready to deploy.
For this guide, you should expect to use:
- One dedicated GCP project for this implementation
- Billing enabled on that project
- The required Google APIs
- Later, Cloud Run services for the tagging server and preview server
- Later, optional domain, DNS, and production hardening choices tied to that same project
Walkthrough: Enable Google Analytics Admin API
This walkthrough shows how to enable the Analytics Admin API in your GCP project. This is an abbreviated walkthrough and does not correspond exactly to the detailed steps below.
-
1
Create a Google Cloud account if you do not already have one
If you have never used Google Cloud before, create the account first. Google Cloud has both a Free Trial and a Free Tier, which should be enough for most users to set up and begin using this service without cost.
Even if you intend to stay within free-tier usage, enable billing from the start. Many Google Cloud services require billing to be enabled before they can be provisioned at all.
Recommended cost controls: enable billing and immediately create a budget with alerts, start with one project and one region, avoid adding unrelated services to this project while you establish the baseline, and verify current Google pricing and free-tier limits directly before production use instead of relying on remembered numbers.
To enable billing in Google Cloud, sign in at cloud.google.com, open the console, and choose or create the billing account you want to use.
- Open the navigation menu and go to Billing.
- If prompted, complete the billing account setup.
- Attach that billing account to the project you will use for GetServerSide.
- Then open Billing > Budgets & alerts and create a budget with alert thresholds so you notice unexpected spend early.
-
2
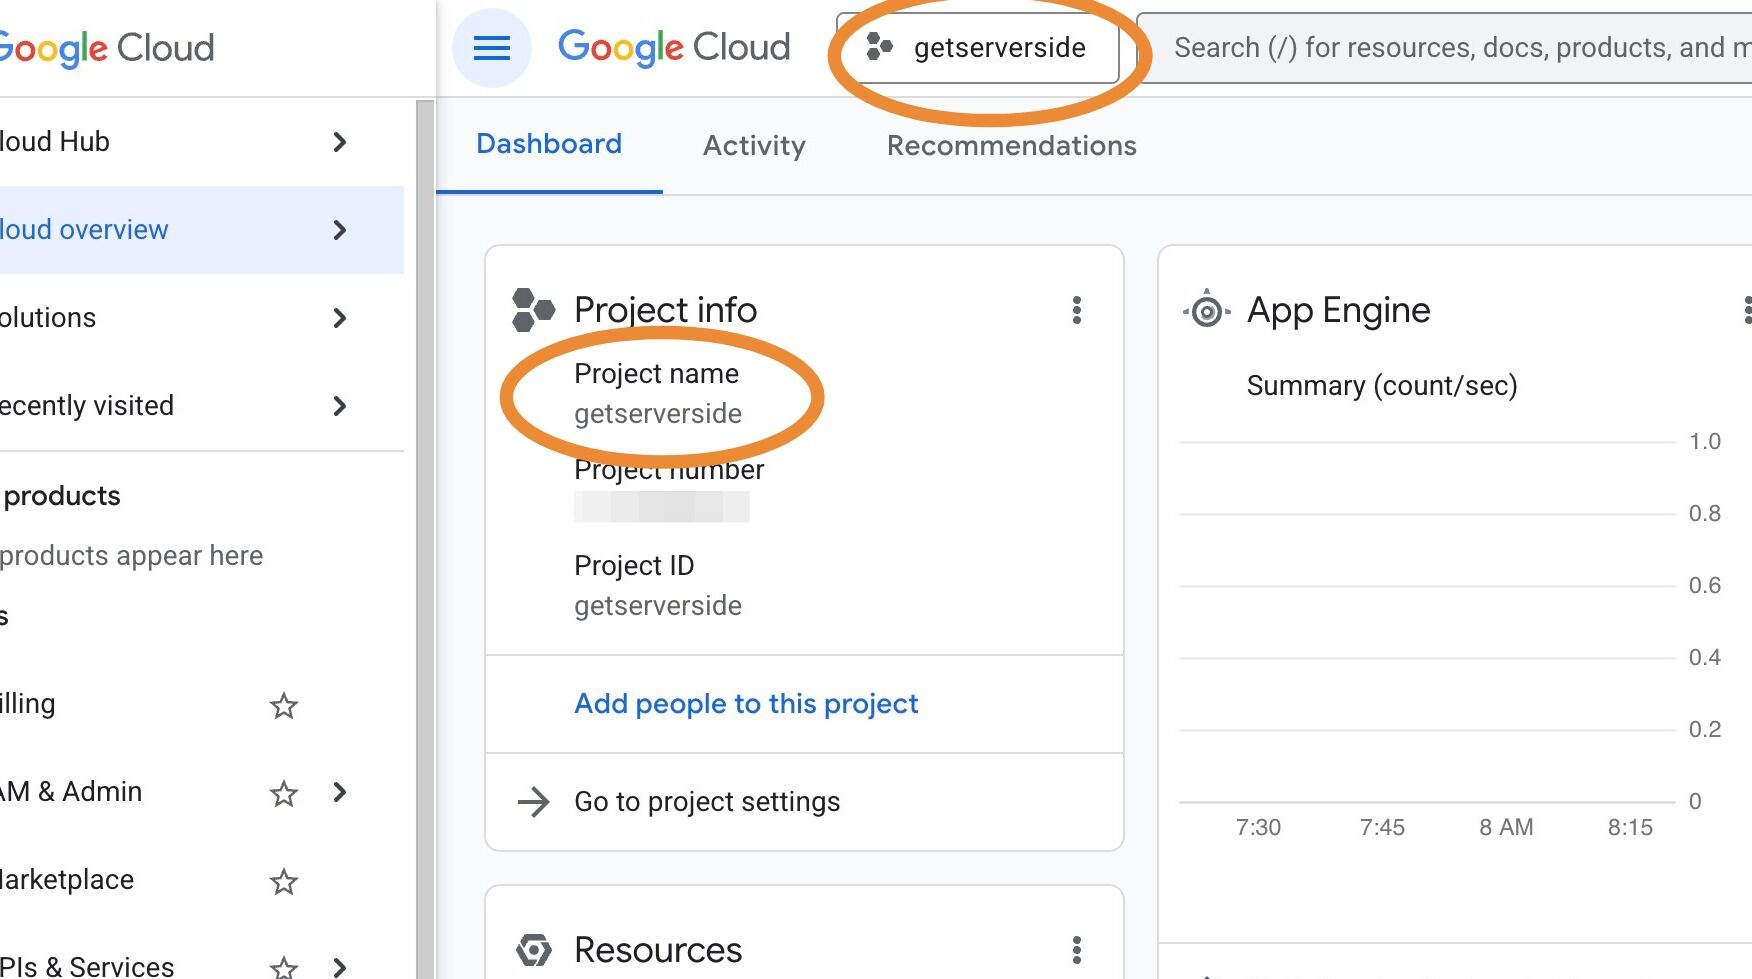
Create one dedicated project for this work and use a clear name
Use a dedicated project for this rollout instead of reusing a random shared sandbox project. Isolation makes permissions, billing, cost tracking, and cleanup much simpler.
Recommended approach:
- create one project specifically for this work
- use a clear name such as
getserversideorgetserverside-prod - keep the implementation in one project unless you have a strong reason to split environments
- pick one region early and stay consistent later when you deploy Cloud Run services
To create the dedicated project, open the Google Cloud console and use the project picker in the top navigation.
- Click the current project name in the top bar.
- Select New project.
- Name it something clear such as
getserversideorgetserverside-prod. - Choose the correct organization or folder if your company uses one.
- Create the project, then switch the console into that project before continuing.
-
3
Enable the required APIs and confirm you have enough access
Make sure the Google account you use for setup can do the work this guide requires. In practical terms, that means enough access to inspect project settings, enable required APIs, and later create or update Cloud Run services.
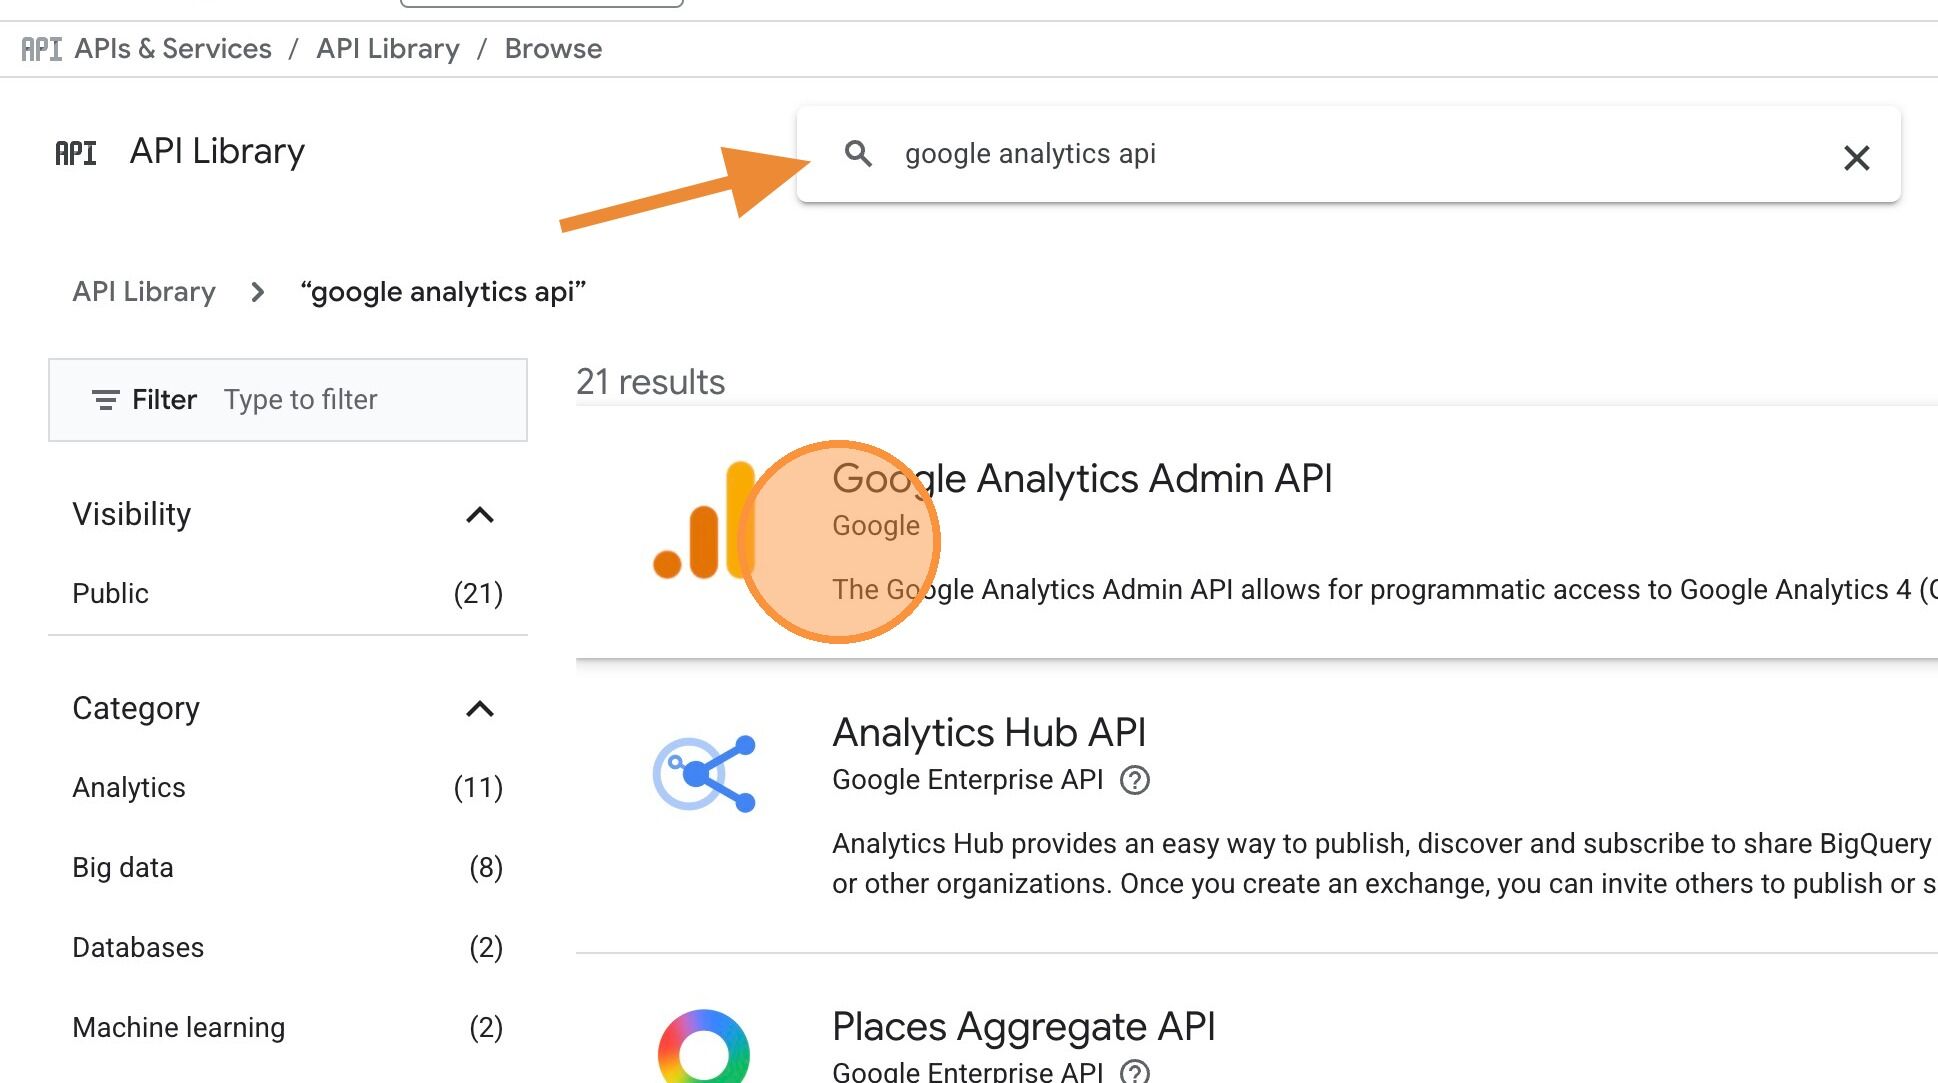
The following APIs must be enabled in your GCP project:
- Cloud Run Admin API (
run.googleapis.com) — Required to deploy, manage, and validate the server-side tagging container and preview server on Cloud Run. - Cloud Monitoring API (
monitoring.googleapis.com) — Used to read service health metrics and verify that the deployed containers are running correctly. - Tag Manager API (
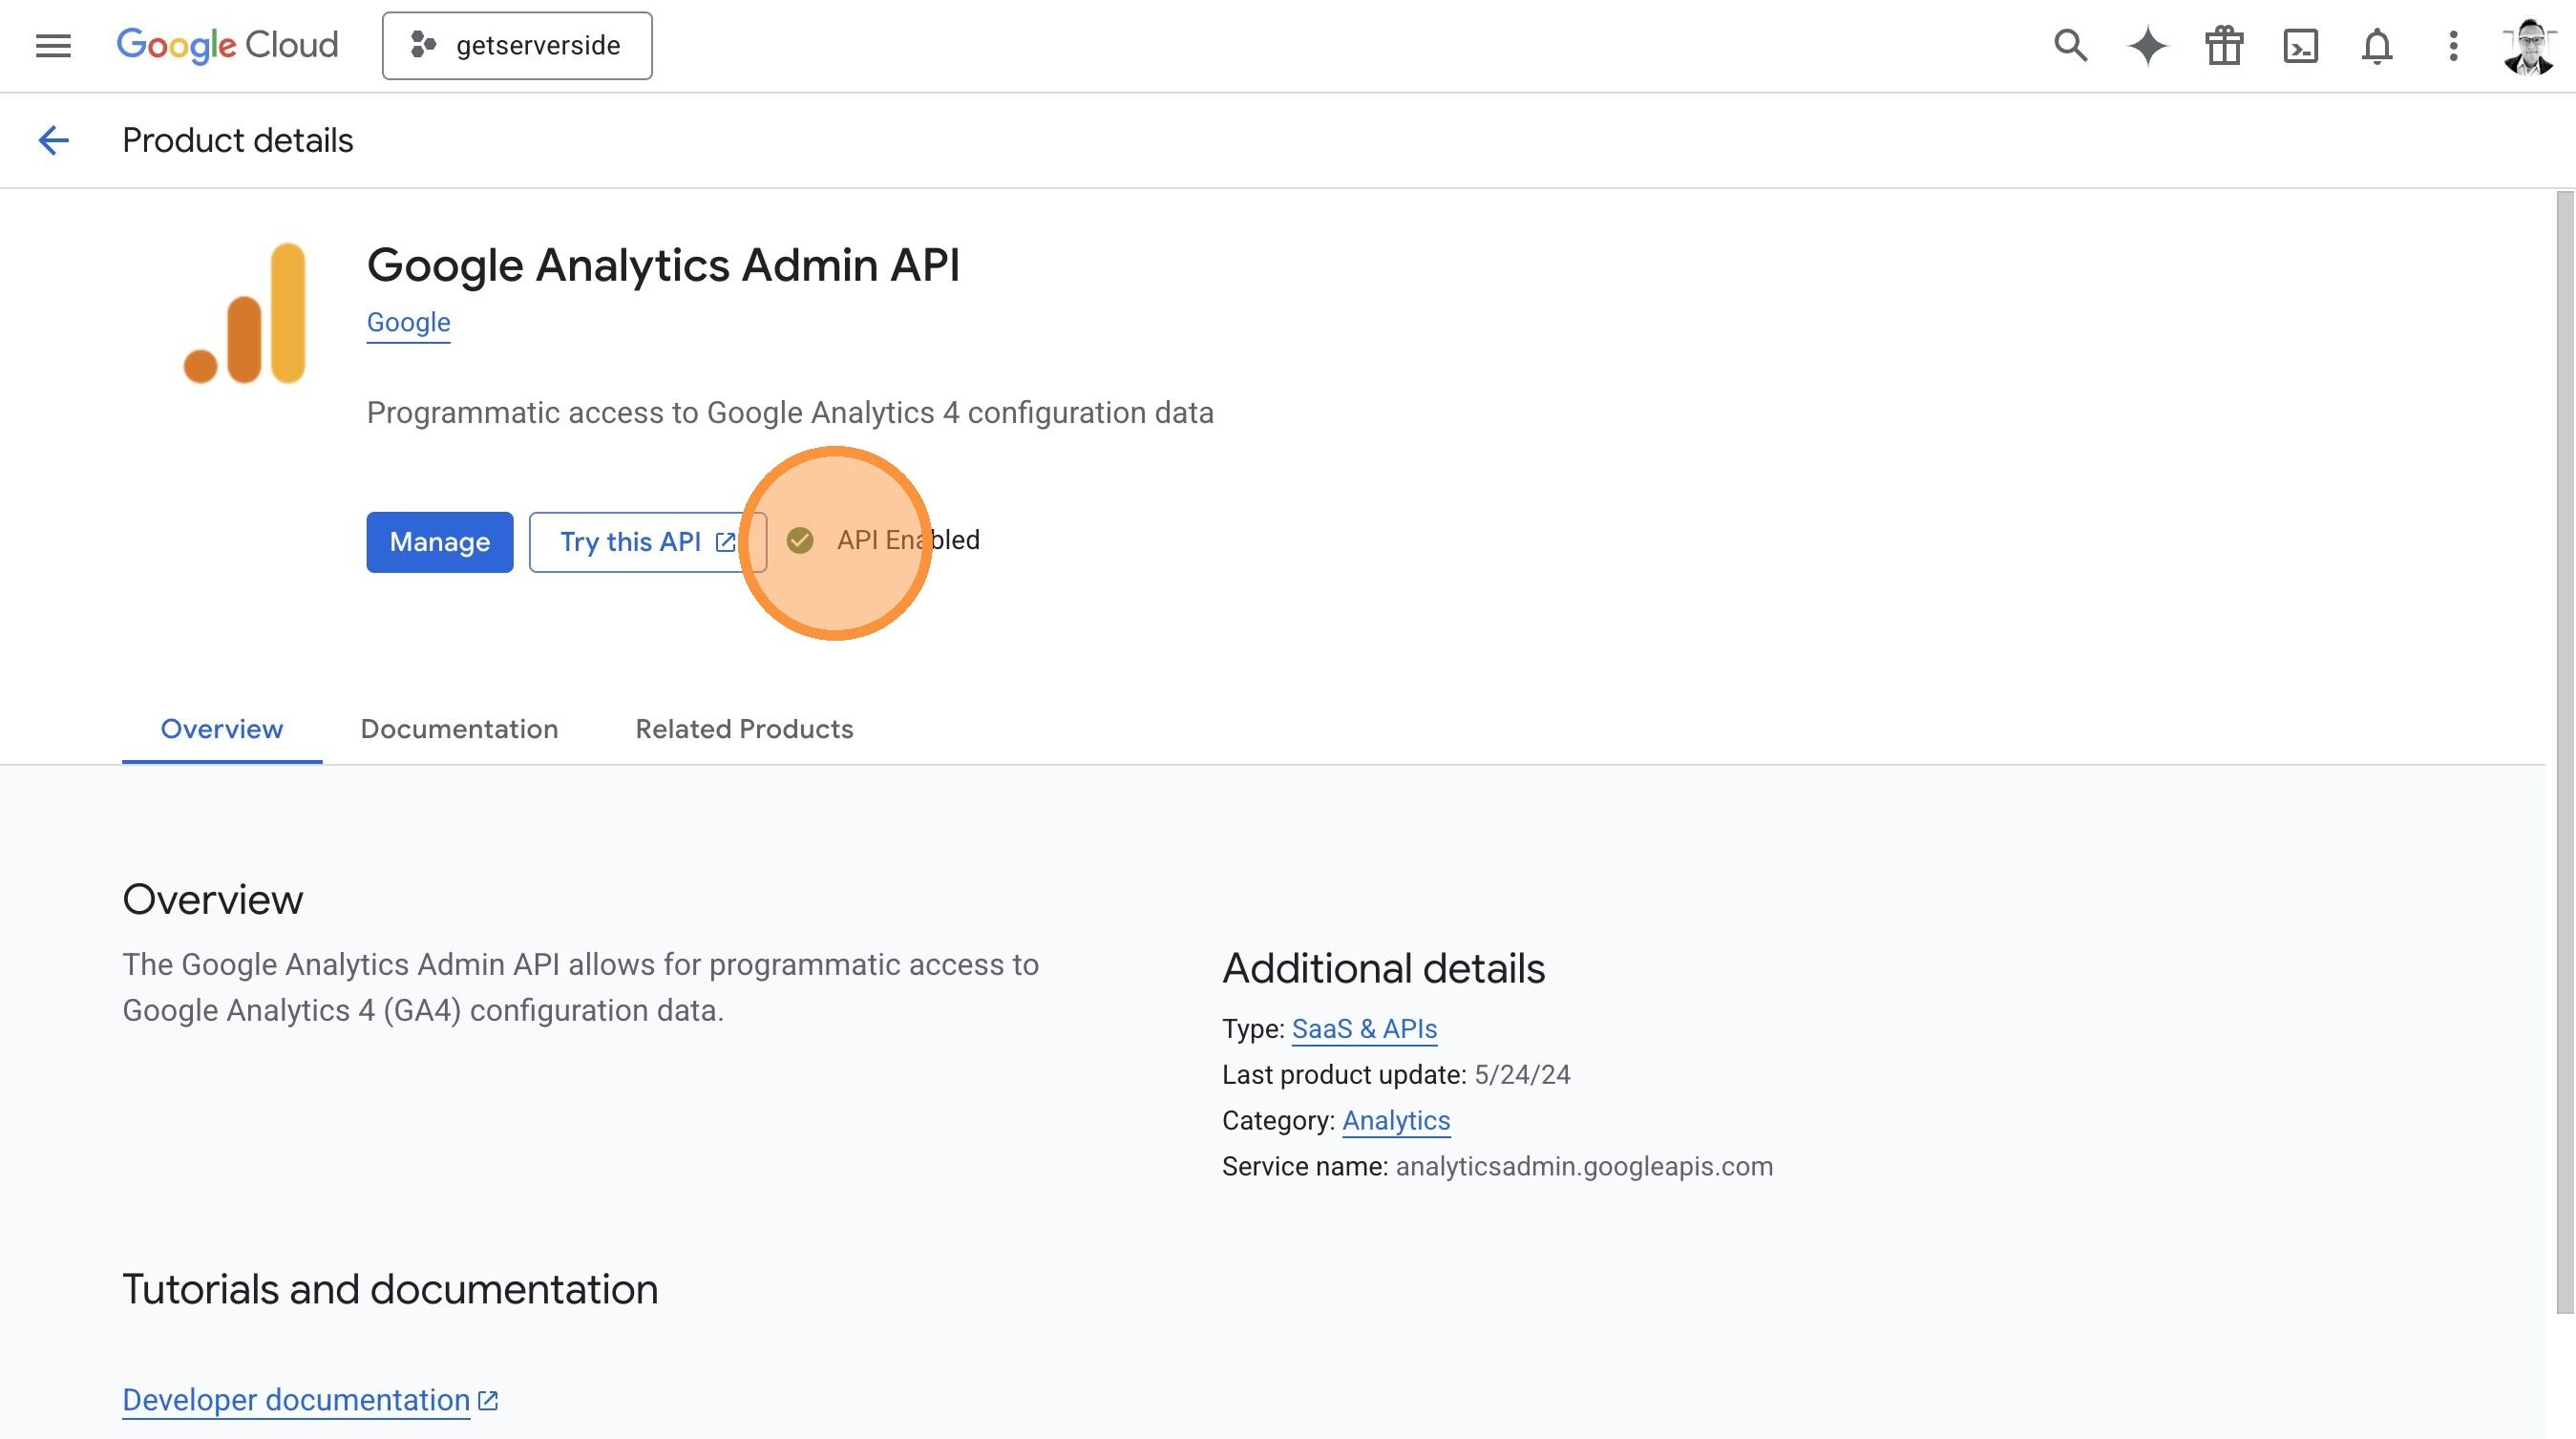
tagmanager.googleapis.com) — Needed to inspect and validate GTM container configurations, including server-side container settings. - Google Analytics Admin API (
analyticsadmin.googleapis.com) — Used to read and validate GA4 property and data stream configurations during the audit and build steps.
APIs are enabled per project — enabling an API in one project does not enable it in any other project. Each project maintains its own set of enabled APIs.
Google sign-in grants access based on OAuth scopes (which control what operations are allowed) and IAM roles (which control which projects your account can access). The app requests scopes for reading and configuring GTM containers, GA4 properties, and Cloud Run services; writes only happen during specific setup steps you confirm. See the security model for the full scope list and what each is used for.
Note: Google requires an active billing account before these APIs can be enabled — enabling the APIs implicitly confirms that billing is active on the project.
If Cloud permissions are owned by another team, involve them before you start the deployment-related steps. In the app Settings page, the app helps verify that the required APIs are enabled, and that check should be treated as part of the platform setup.
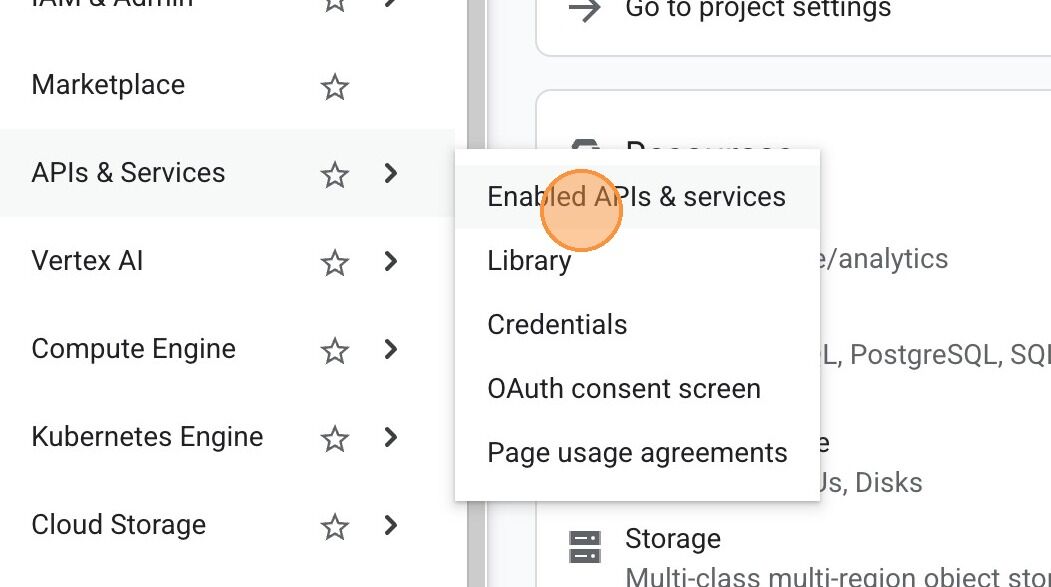
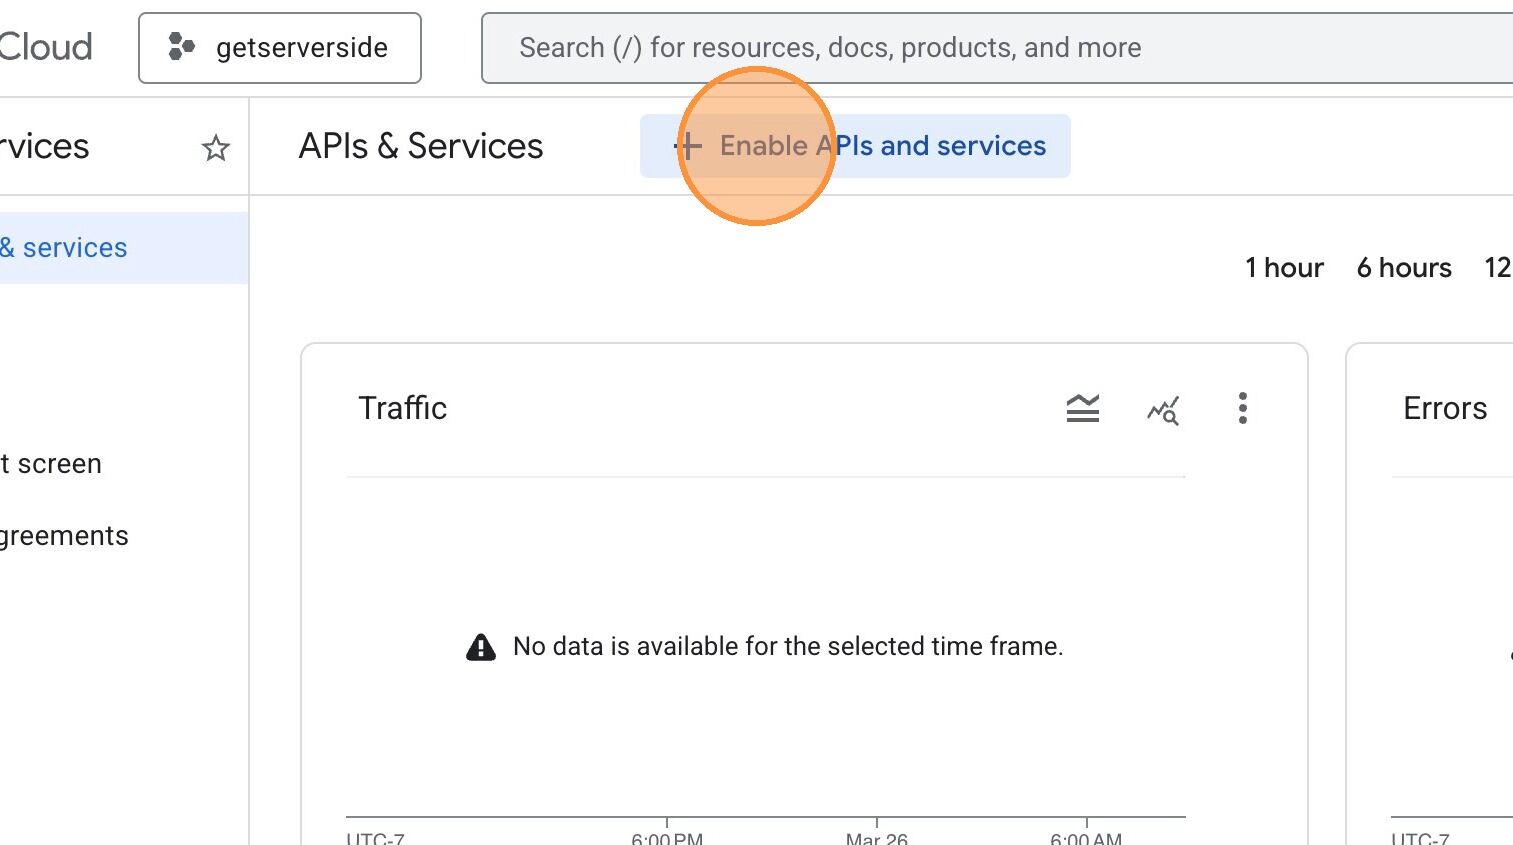
To enable APIs and confirm access in the Google Cloud console:
- Open APIs & Services > Library.
- Search for each required API and enable it in the selected project.
- Open APIs & Services > Enabled APIs & services to confirm they are active.
- Open IAM & Admin > IAM and confirm that your Google account has the roles needed to inspect project settings and work with Cloud Run later in the guide.
- Cloud Run Admin API (
-
4
Keep the setup in one project and one region unless you intentionally need more complexity
Pick a region that is closest to where you do most of your business and stay consistent later when you deploy Cloud Run services. If your business is broadly US-wide and you do not have a stronger latency or residency requirement, Iowa is a good default.
A simpler project and region layout makes deployment, permissions, and troubleshooting much easier as you move into the server-side steps.
-
5
Have this project ready for later selection in the app
You don’t need to select this project in the app during initial setup. The app defers GCP project selection until after you’ve scanned your existing setup and reviewed your readiness.
When the time comes, make sure this is the project you select so Cloud Run deployment and server-side validation happen in the right place.
Done when
Your GCP setup is ready when:
- you have chosen one dedicated GCP project for this implementation
- billing is enabled and a budget or alert is configured
- the required APIs are enabled
- your Google account has the access needed to work in that project
- that project is ready for later selection in the app when you reach the deployment step
In Google Cloud, you can verify each of those items like this:
- Use the project picker in the Google Cloud console to confirm you are in the dedicated project you created for this rollout.
- Open Billing and Budgets to confirm the project is attached to a billing account and has at least one alerting budget.
- Open APIs & Services > Enabled APIs & services to confirm the required APIs are enabled in that project.
- Open IAM to confirm your Google account has the roles needed to inspect the project and work with Cloud Run later.
- Record the project name and ID so you can select it later in the app when you reach the deployment step.
From there, go back to P.4 Settings in the Platform Setup Guide.